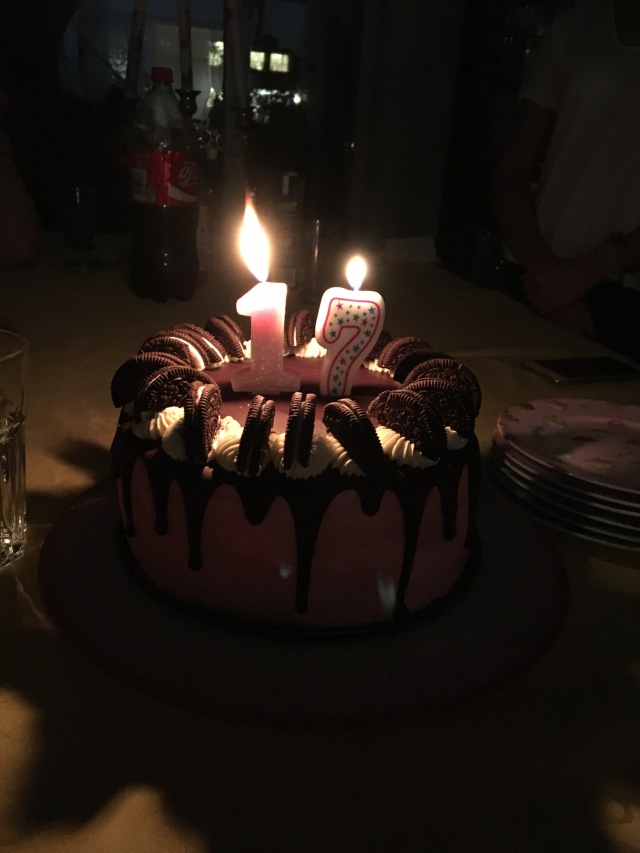
Happy birthday to me! I’m finally 16!
I’m one of the youngest in my grade, and although I liked being the only one in my classes who was 15 while others were 16, it feels pretty good to be 16. 16. 16! The sweet sixteen.

This year, my brother turned 18 (what!) and I turned 16. I’m hoping that this year will go well, overlooking the fact that my brother started his first year in university and I’m starting my first year of the IB, of course.

I wish that along with the study of chemicals and human behavior and history and language, there was a study of time. Maybe it exists somewhere out there, but as far as I’m concerned, it’s not a course in the IB. If it were, I’d be taking it as a higher level for sure.
Time is – to put it simply – absolutely amazing, and absolutely mind-f***ing.
The brain takes a fraction of a second to process information, so everything that’s happening around you is technically already in the past. And the stars that you gaze up at, including the sun. The light from those stars take seconds and minutes to travel from far away into your eyes, so you’re seeing those in the past. If a star went out, you’d still see it shining for a little while longer, because your eyes no longer view the present. Then there’s also that physics theory, where time isn’t always relevant. The theory states that if you’re next to something of an exceptionally large mass, or traveling at an exceptionally high speed, time slows down. I guess that’s a physics thing, but still.
Then again, time isn’t just about the unmatched human perception of time, it’s also about how much can change in either a millisecond, or over the course of a lifetime. Take this quote from DJ McHale: “A second is nothing. A tick on the clock. Seconds pass all the time and we never think about any one of them. But a second can be an eternity.” (I know, I already shared that quote on my last birthday cake post, but it was worth sharing again).
Tragedy happens at the same time as miracles do. I remember, a couple years back, I was on vacation in Europe. It was nighttime. Dark and rainy. My family and I didn’t have any rain protection, and we were frantically running to find our way back to our hotel. At that moment, I was absolutely miserable, and then I started to think. Someone out there in the world is having the best moment of their life. Perhaps getting married, or a couple welcoming their child into the world, yet I’m here, drenched, dripping, and shivering. Ever since then, I’ve always thought similarly at times of low, and it cheers me up to know that someone out there is having the best time of his/her life. Vice versa. When I’m happy and grateful for all the goodness around me, I take a moment to think about someone across the world who may be rushing through thunder and lightning, desperate for shelter, and although it may not help, I close my eyes and send out my condolences.

Anyways, enough about time.


I celebrated my birthday with my friends a couple of weeks before my actual birthday. It was a shared birthday party that I celebrated with my best friend, who turned 16 on August 24.
I found out that she, along with most of my friend group, hadn’t ever gone and properly done karaoke. I was stunned. We were in China, in Beijing! I’d done karaoke countless times, karaoke places are like a second home to me. During my childhood, when I lived in Beijing, I’d say that there were only 3 places people ever celebrated birthdays, child or adult: At home, laser tag, or karaoke.
Naturally, I insisted that we went and did karaoke, and then went back to my house to have dinner and cake and to chill, so that’s what we did. We truly had such an amazing time, and my friends got me the best gifts I could’ve asked for. I went to bed that night feeling loved. I was so happy to have received a dessert journal and Bobby Singer’s Journal and the Enchanted Garden coloring book and a cookie cookbook and a fountain pen and stickers and candy roses and etcetera etcetera. Plus, seeing everyone’s reaction to this cake was pretty memorable, but seeing my best friend’s reaction to finding out that she got a Polaroid? Priceless.
I won’t post any of the birthday party photos for the sake of my friends’ confidentiality, but I’ll post my “birthday in photos” here on my photography page tomorrow.

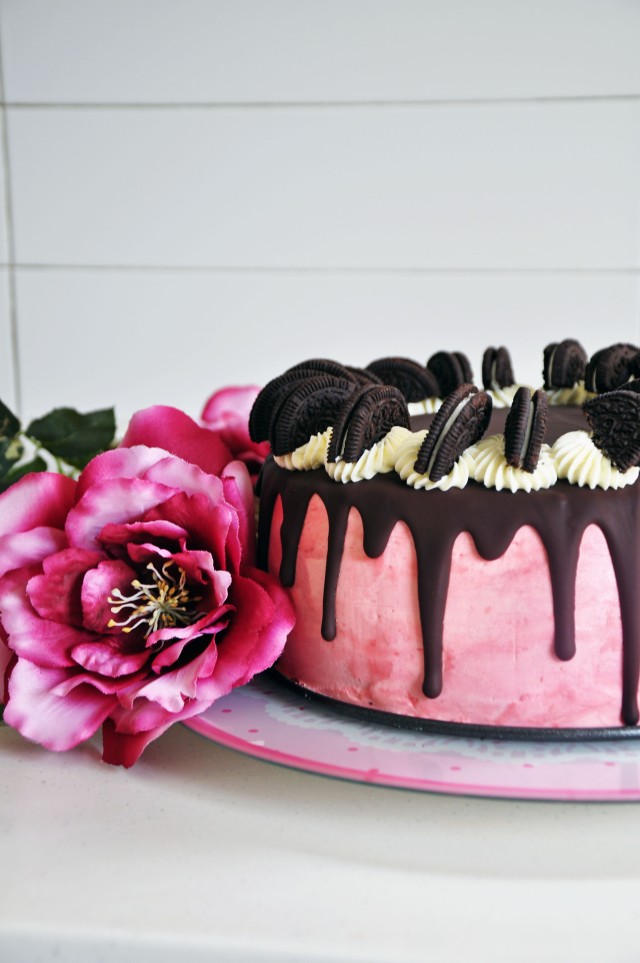
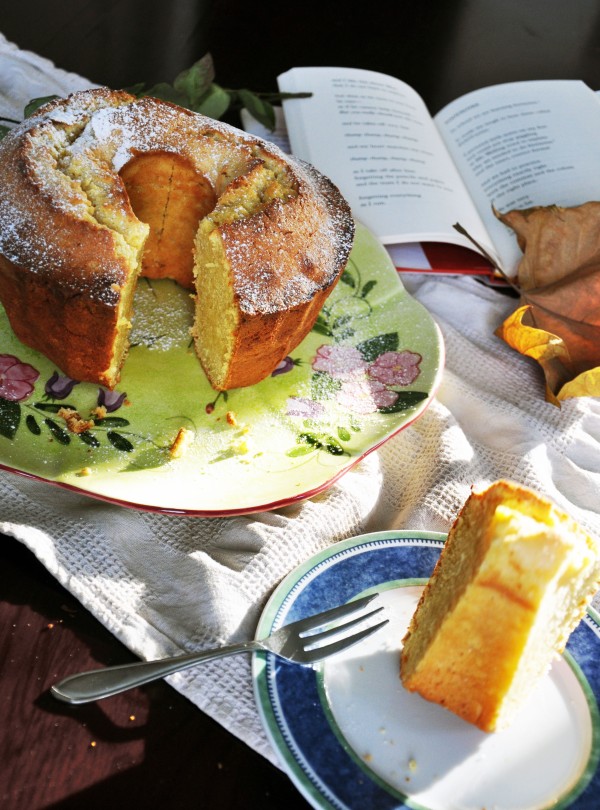
I’ve always wanted to make a Katherine Sabbath cake. A couple months ago, I started planning cakes for all my family’s birthdays this year. I made my brother a Funfetti Layer Cake, my dad a Classic Tiramisu, and I knew that I had to make a Katherine Sabbath inspired cake (mom’s birthday is still coming up!).
There was one night a few days before I started making this cake where I got so excited about the cake that I couldn’t sleep ’til 3am. Granted, I spent a few hours looking at cakes, but still, I couldn’t stop thinking about cake!
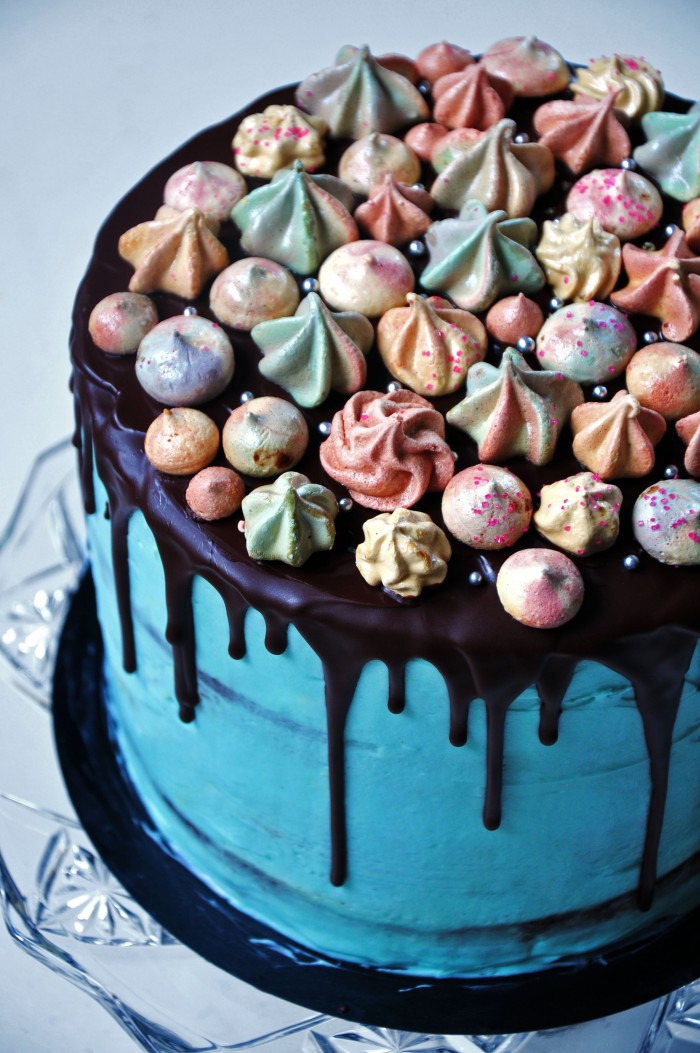
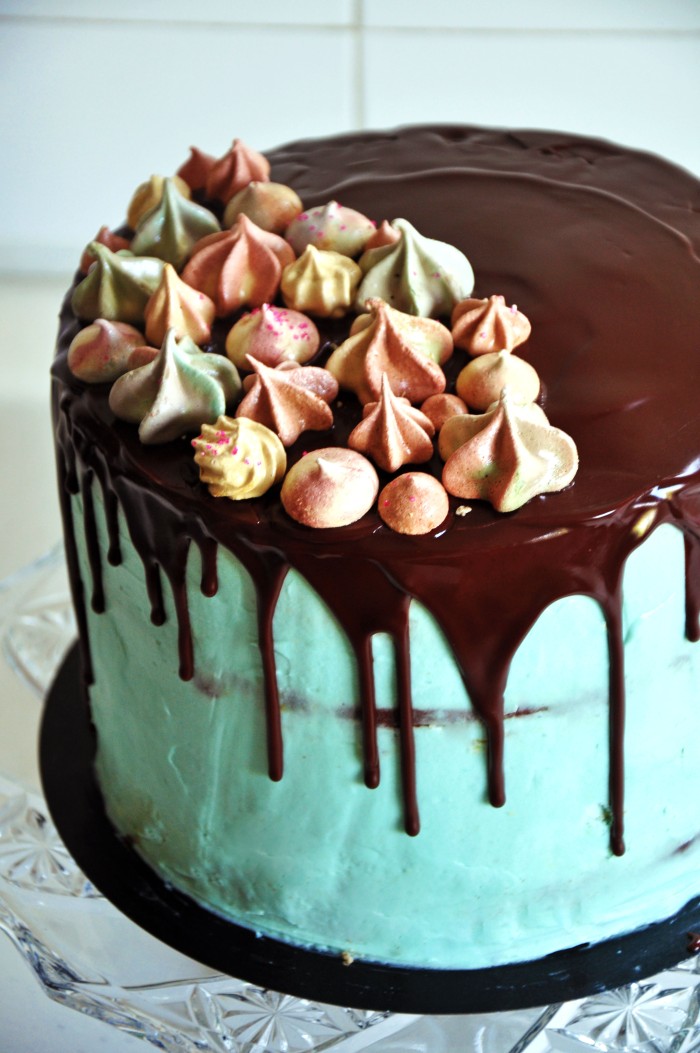
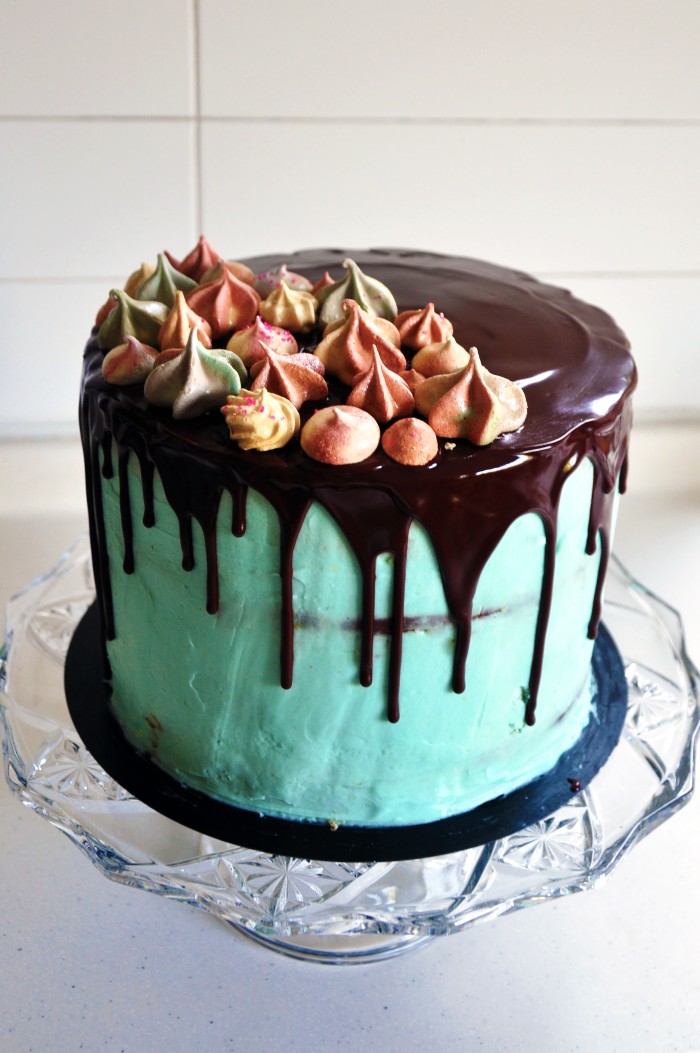
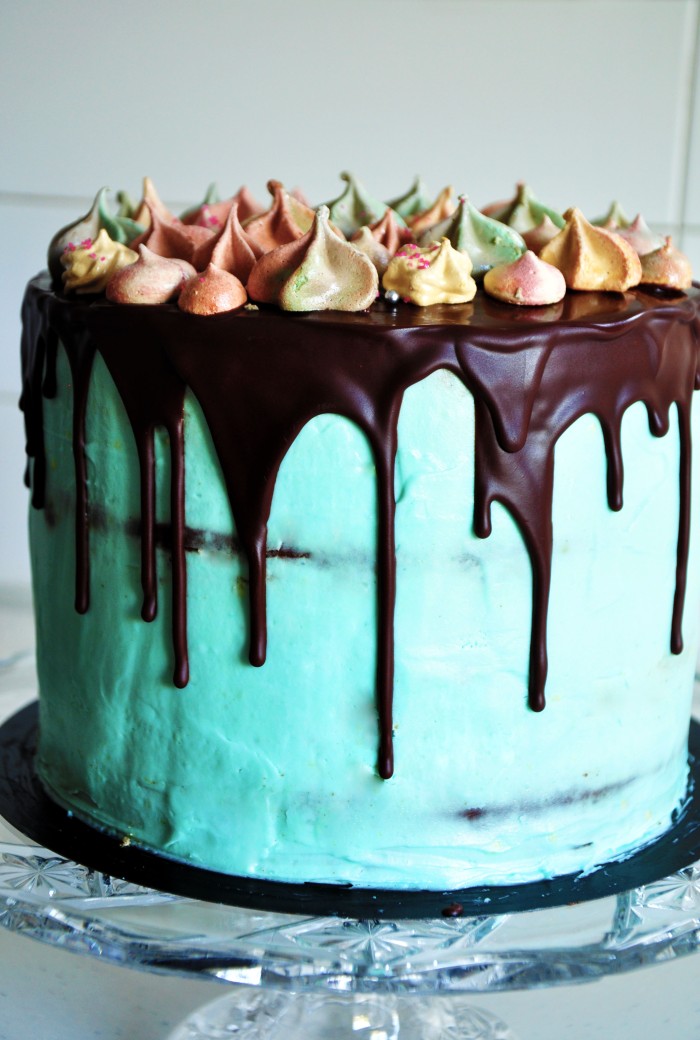
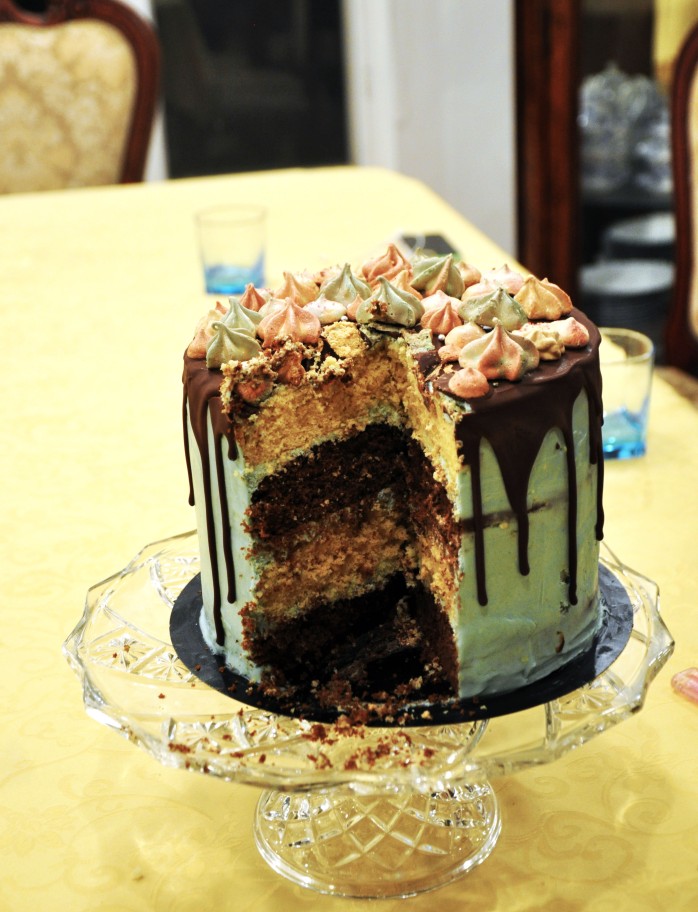
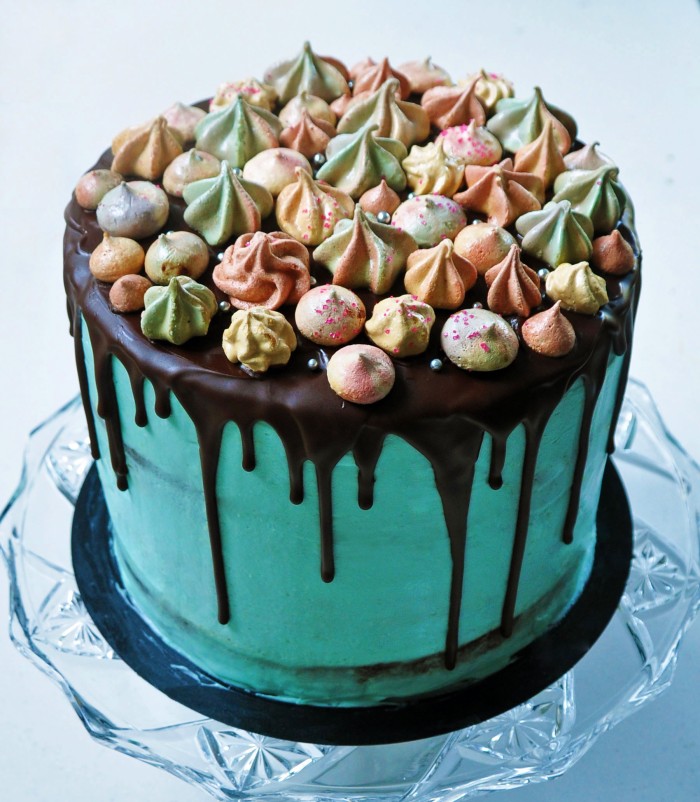
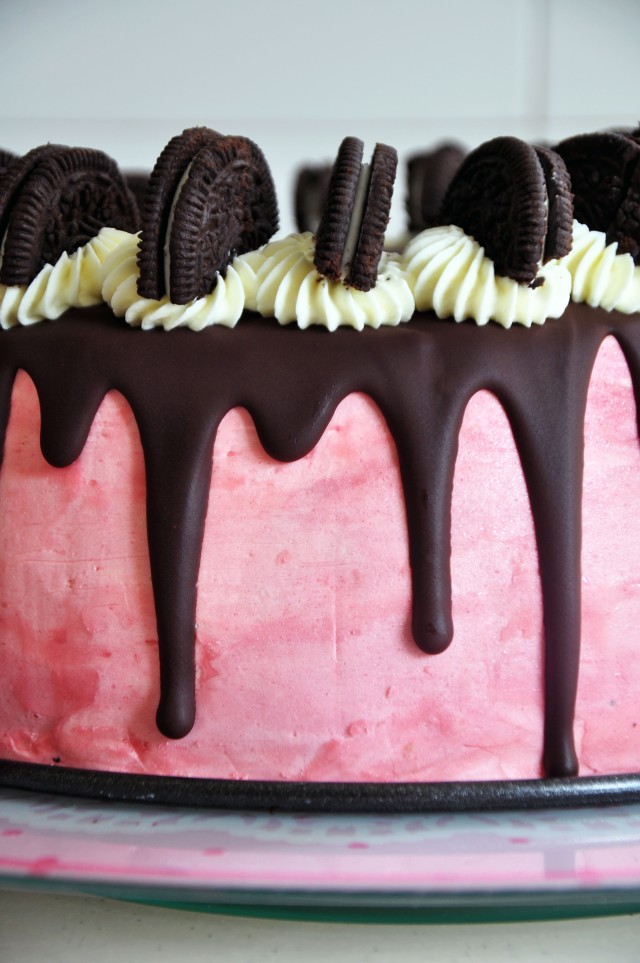
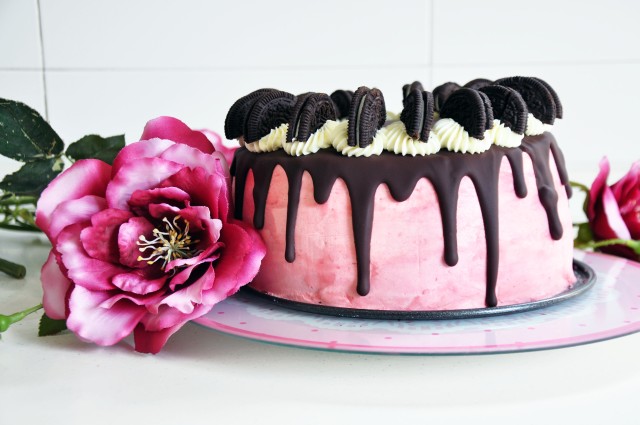
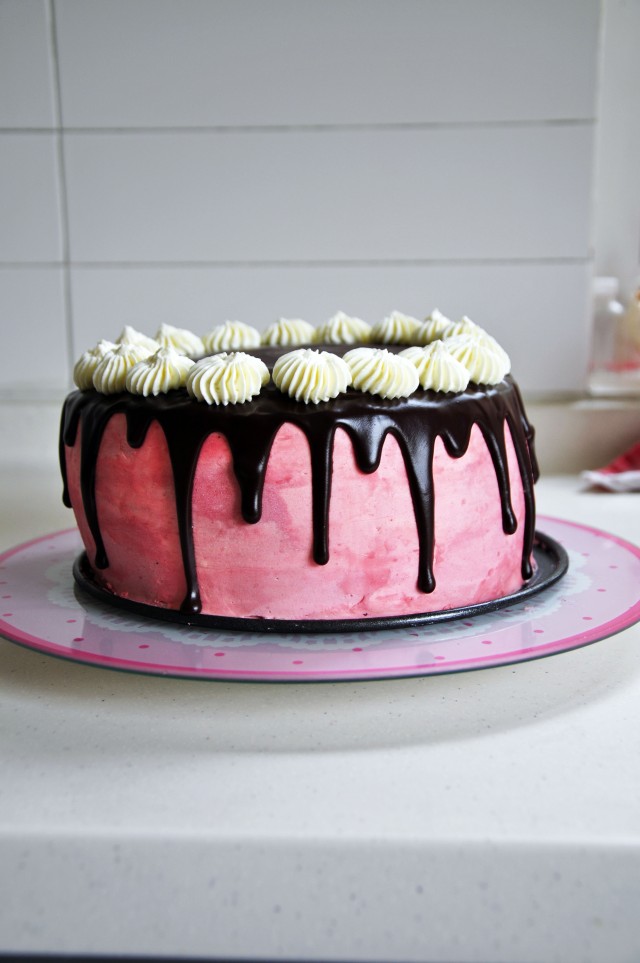
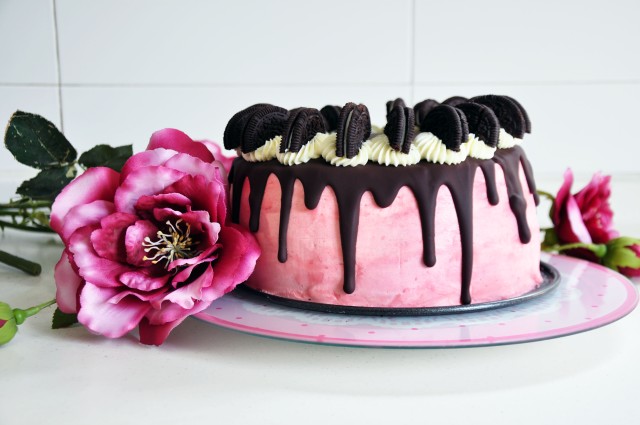
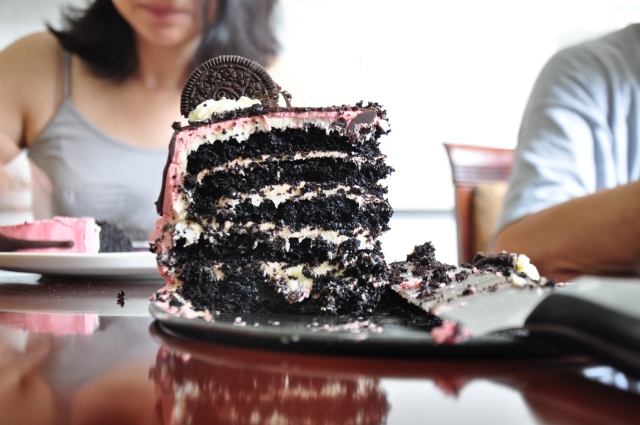
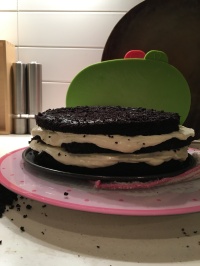
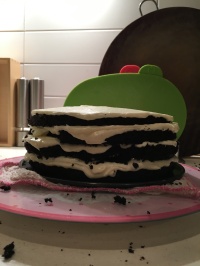
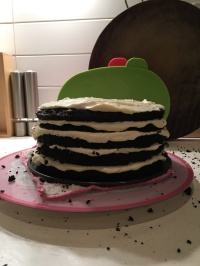
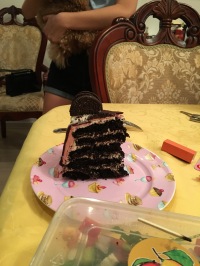
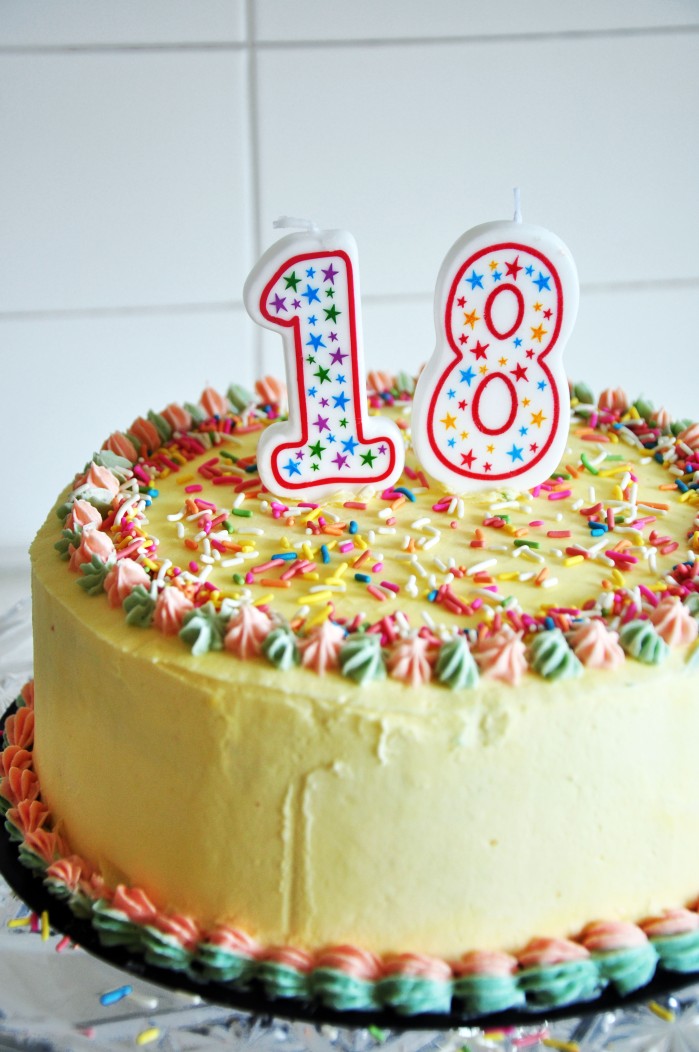
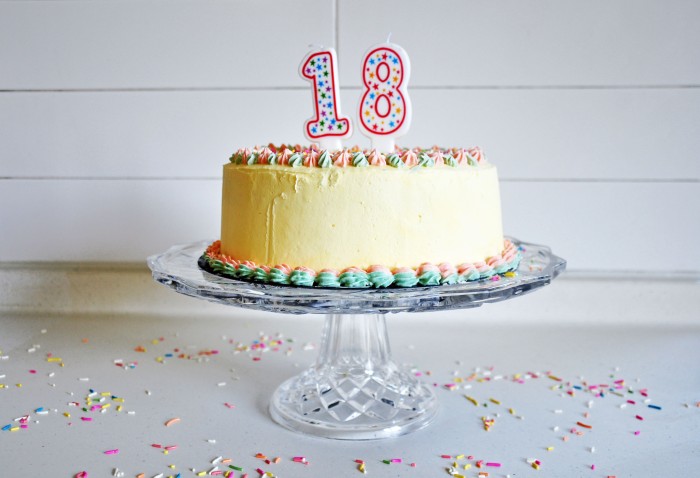
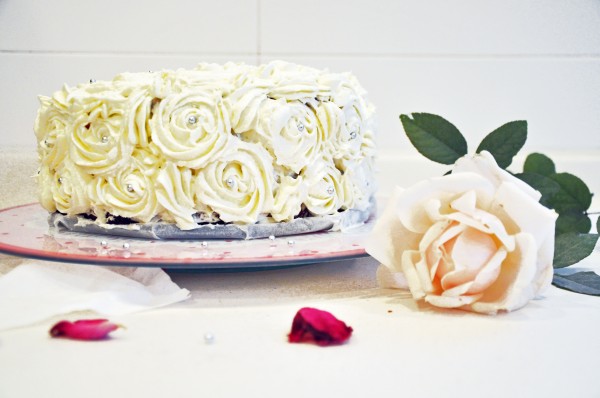
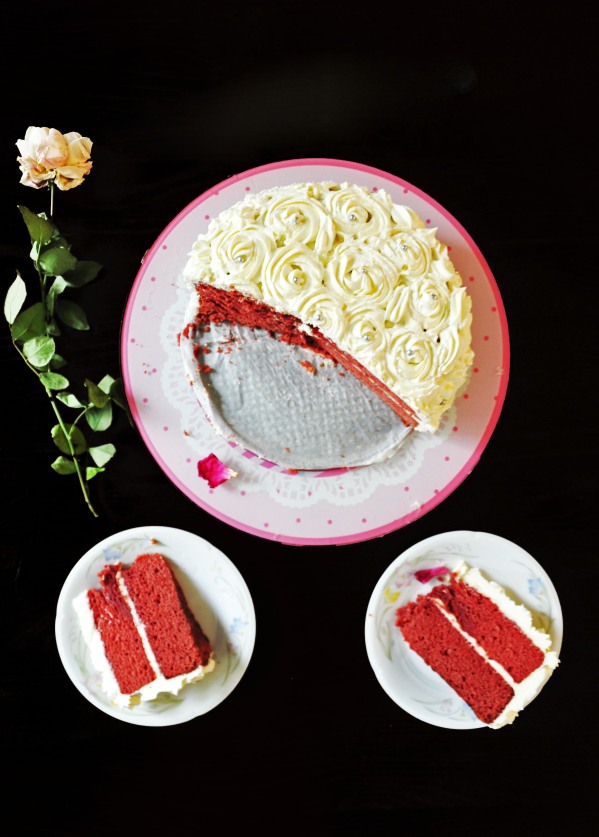
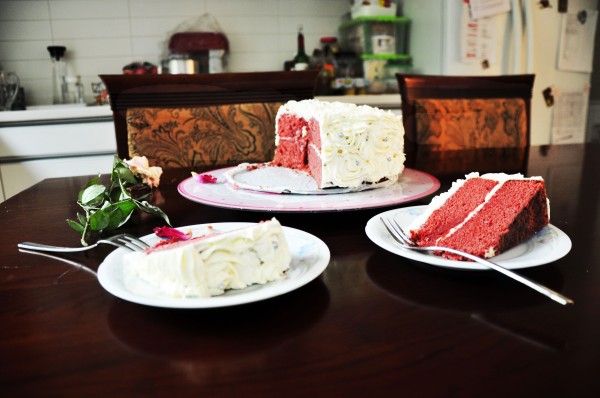
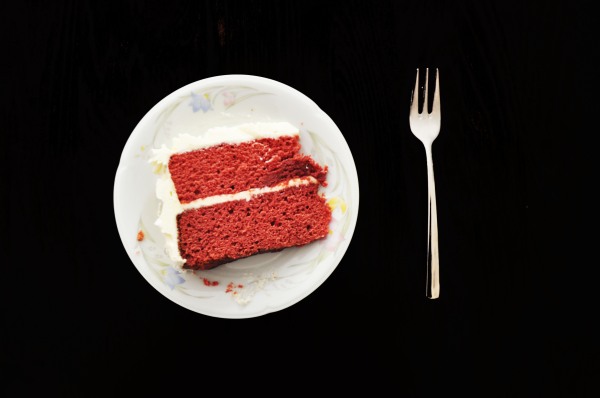
In the end, all was worth it. See how this is an 8-inch, 4-layer birthday cake? In just one night, a little group of girls consumed pretty much the entire thing. Two or three slices were taken home on paper plates, and my mom and I decided to save one slice for the next day, but the rest of it? Gone. Utterly gone.
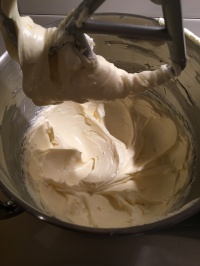
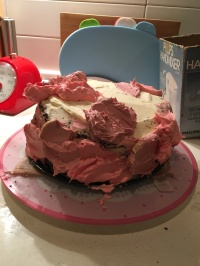
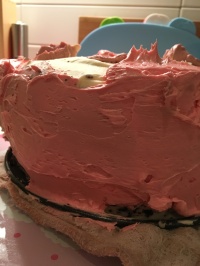
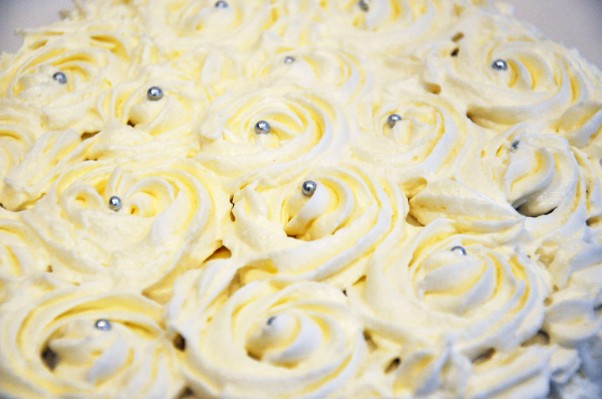
Normally, there’s cake left over. Cake’s too sweet. They’re too full. Yada yada. None of that happened with this one. The cake layers were perfect. They weren’t dense and overwhelmingly sweet, but were fluffy, light, just the right amount of flavor. The frosting, though! I have to admit, the frosting is my favorite part of this cake. No surprise there, of course. I used the queen’s recipe. Katherine Sabbath’s, that is. I’ve always loved cream cheese frosting, but the fact that freshly whipped cream is folded into this one makes it so incredibly fluffy. It’s not diabetes-sweet and rich like most buttercreams, but is light and beautiful and tangy and has a hint of sweetness that balances perfectly with the crisp meringues.
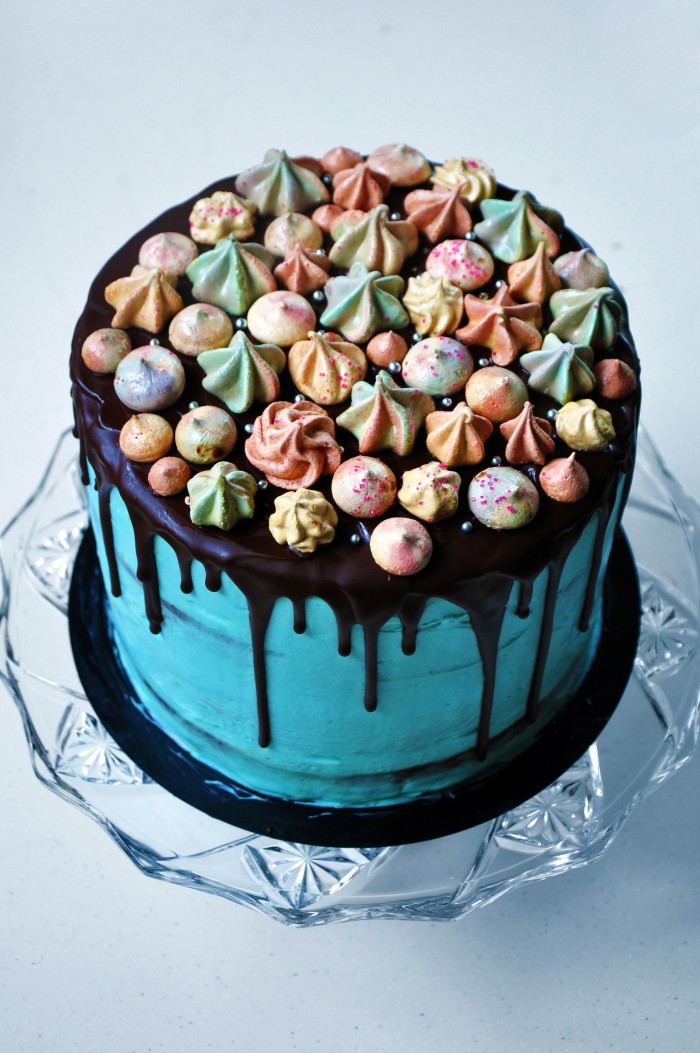

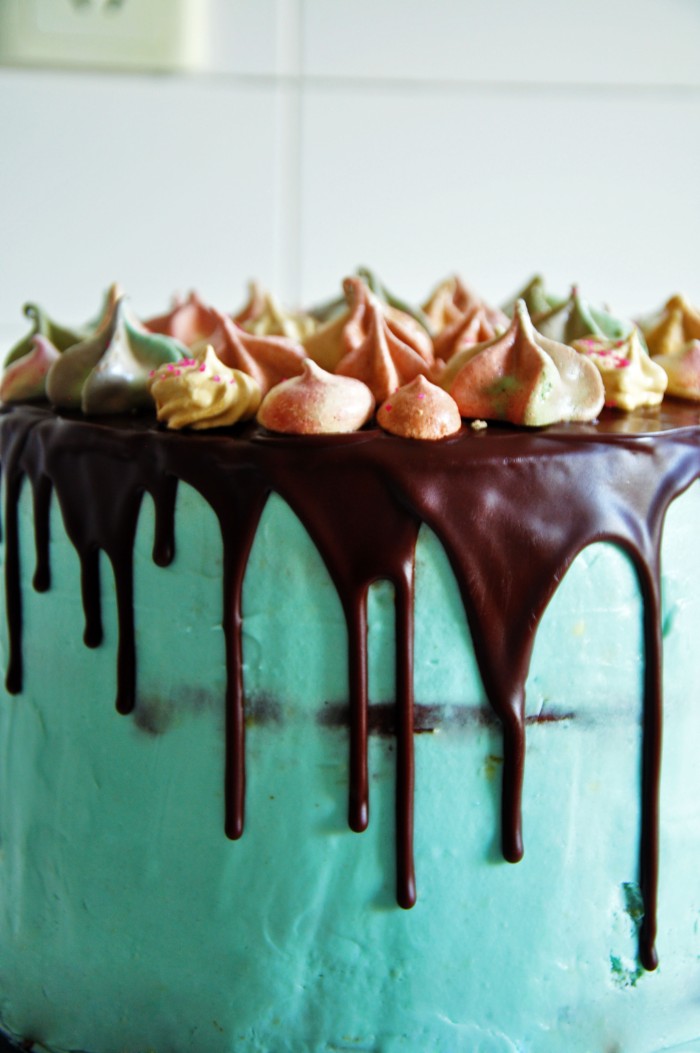
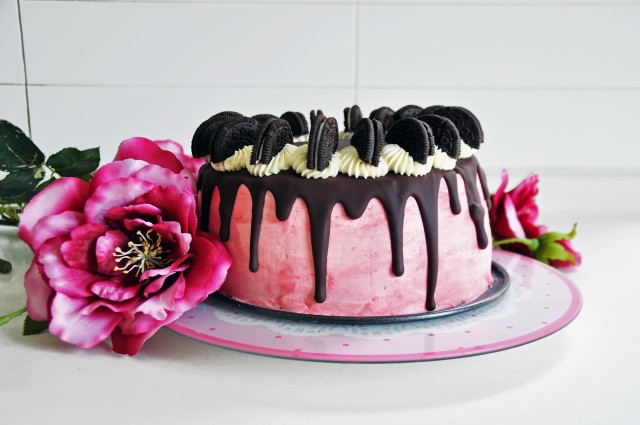
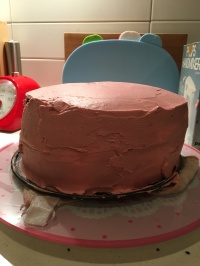
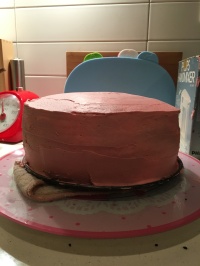
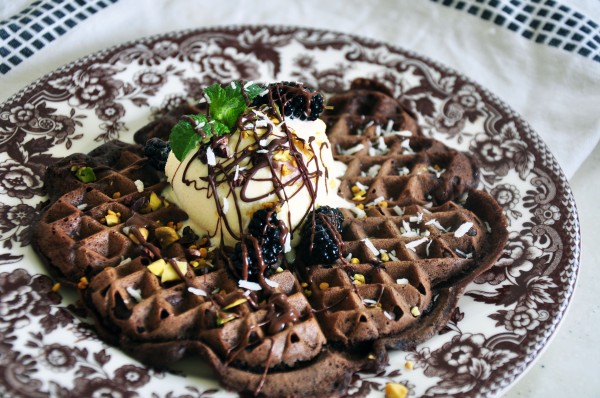
I absolutely adore making layered cakes. If you do make this recipe, you’ll know what I mean. It took quite a bit of time, but I seriously loved making it, especially the part where I got to dribble chocolate over the cake. That was fun. My layered cakes don’t always look as beautiful as the ones from around the web, and this one surely doesn’t compare to anything by Katherine Sabbath, but I did my best.
Katherine Sabbath Inspired 4-Layer Meringue Birthday Cake
Adapted from recipes linked below
Makes 1 8-inch, 4-layer cake
Ingredients:
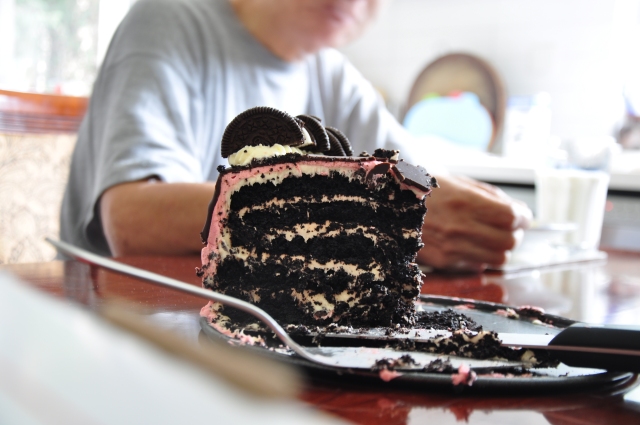
- You’ll need a recipe for 4 cakes: 2 chocolate and 2 vanilla. You could also bake a chocolate mud cake and a white chocolate/vanilla mud cake, and slice them in half to create 4 layers. These need to be fully cooled and preferably trimmed before assembling
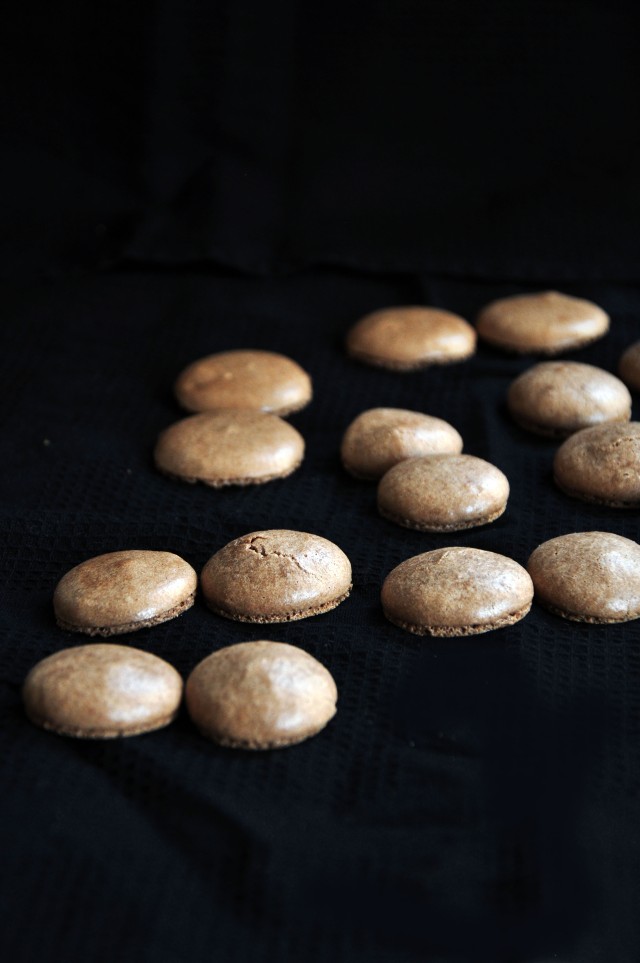
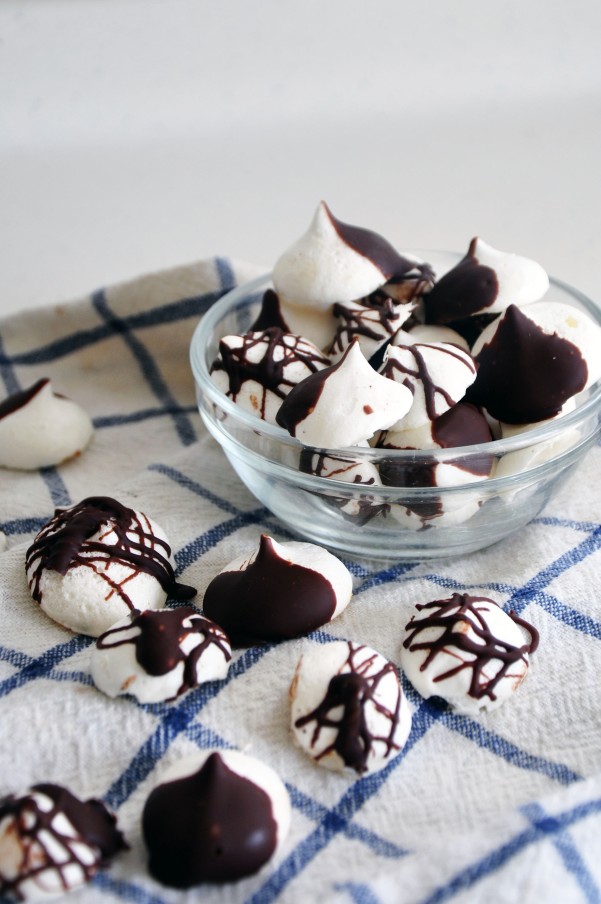
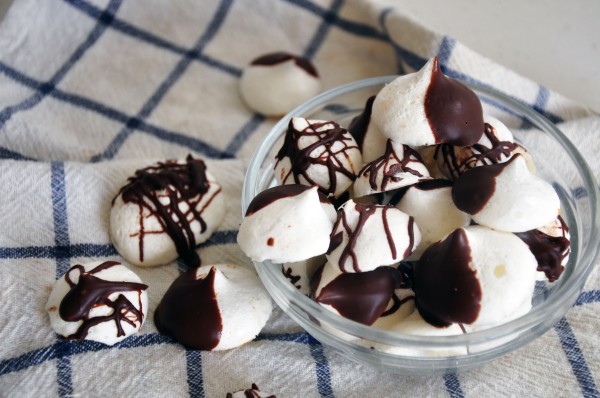
For the meringues
- 3 egg whites, room temperature
- 3/4 cup (150g) superfine sugar
- Pinch of cream of tartar
- 1 teaspoon pure vanilla extract
- Food coloring (preferably powdered)*
For the cheesecake filling
- 500g cream cheese, softened
- 100g unsalted butter, softened
- 200g freshly whipped cream
- 200g icing sugar, sifted
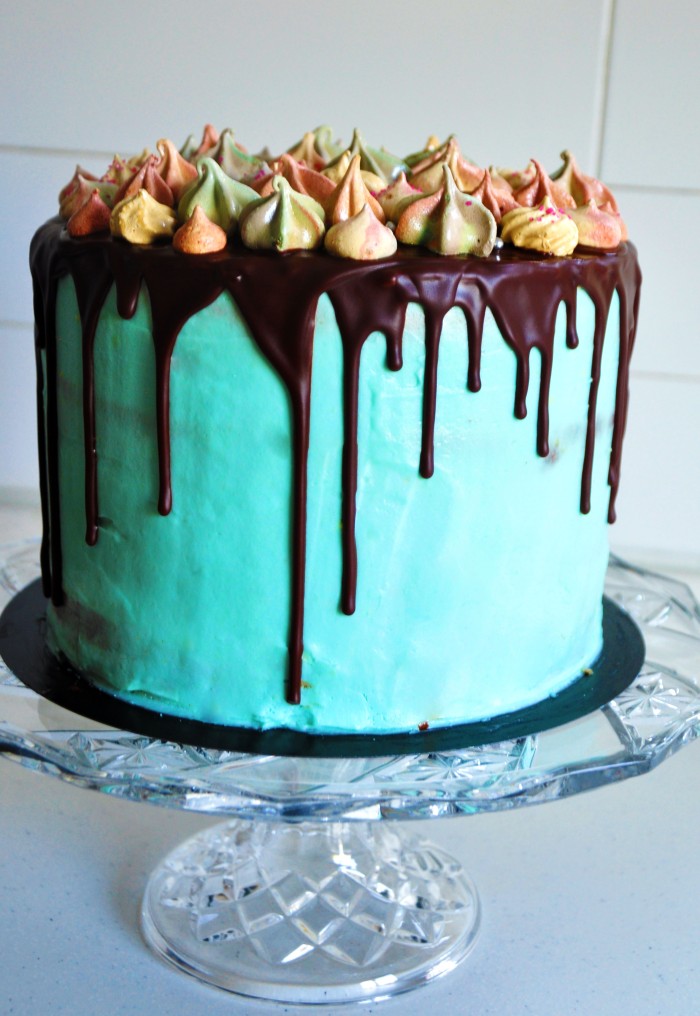
- 2-4 drops blue food coloring
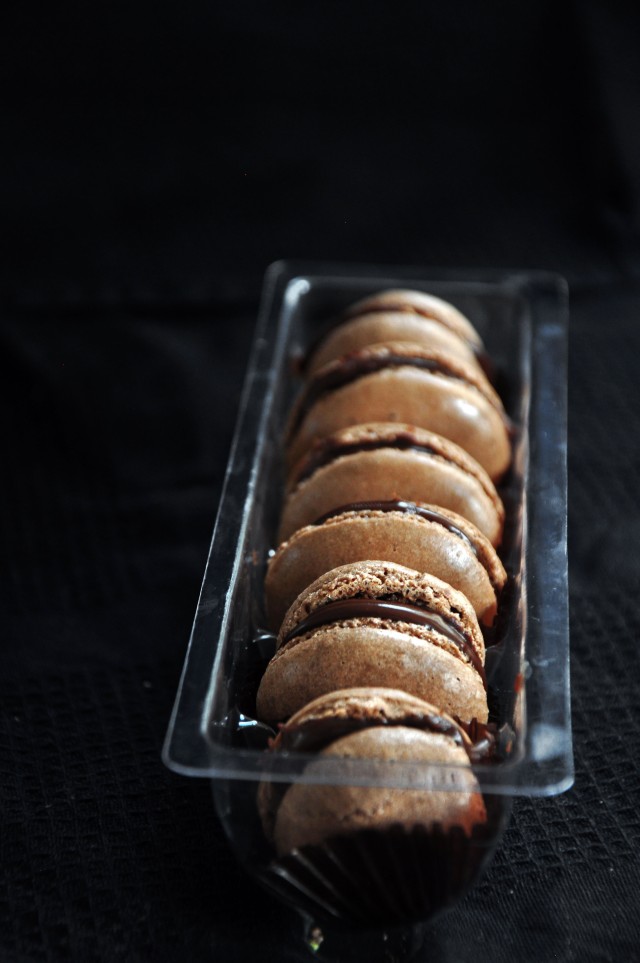
For the chocolate glaze
- 5 ounces (150 g) best-quality dark chocolate, chopped (I used Lindt)
- 3/4 cup (90 g) unsalted butter
- 1 tablespoon light corn syrup or honey
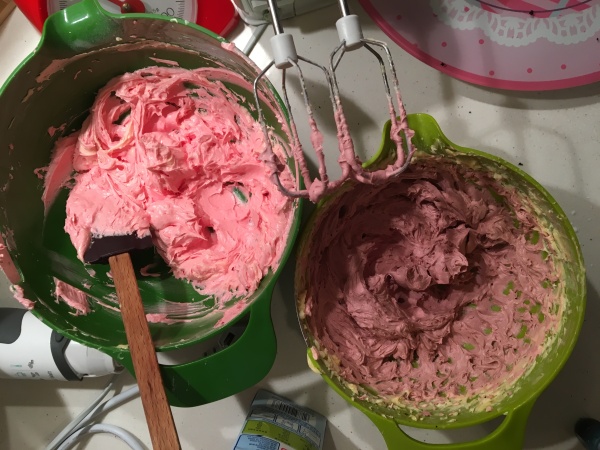
*I don’t have access to powdered food coloring, so I used water-based food coloring for the blue/green, and used beetroot powder for the pink one. The beetroot powder worked quite well. Meringues call for preferably powdered food coloring, as it keeps them dry, but as long as you keep them in an airtight container in the fridge, you should be fine.
Method:
- For the meringues, preheat oven to 90 degrees Celsius or 200 degrees Fahrenheit
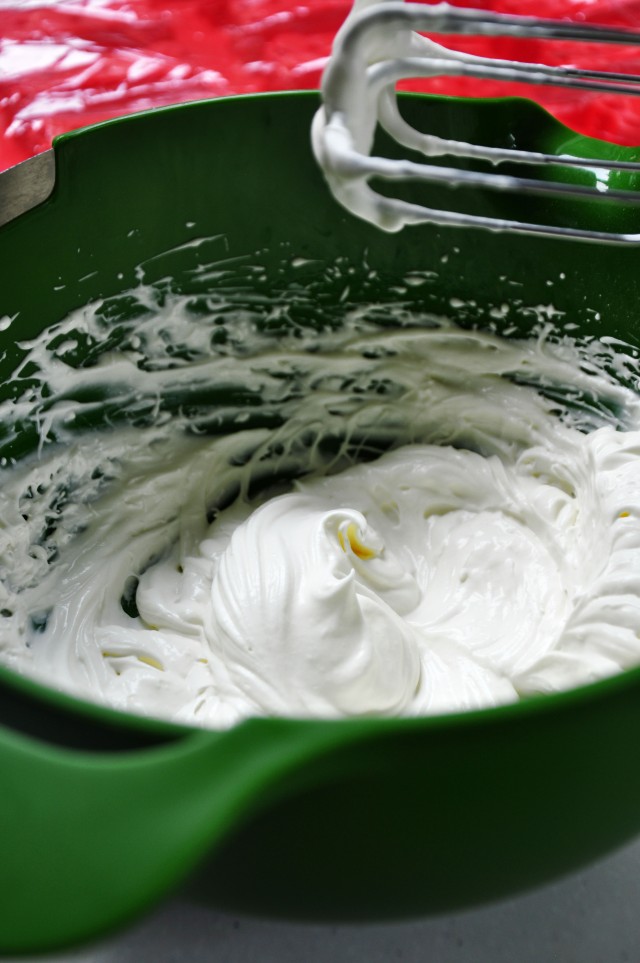
- In the bowl of a stand mixer or a medium bowl with an electric hand mixer, whip the egg whites with the cream of tartar until you get soft peaks. Add in the sugar a tablespoon at a time, and then turn the mixer to the highest speed and whip until meringue is stiff and glossy. This should take a few minutes. Beat in vanilla extract.
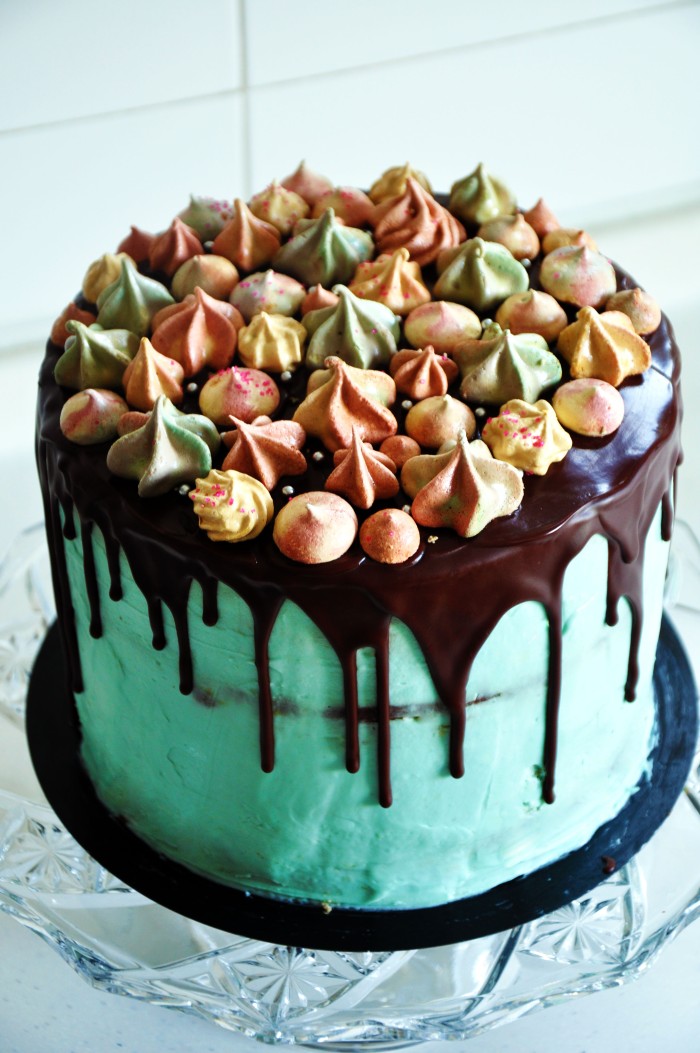
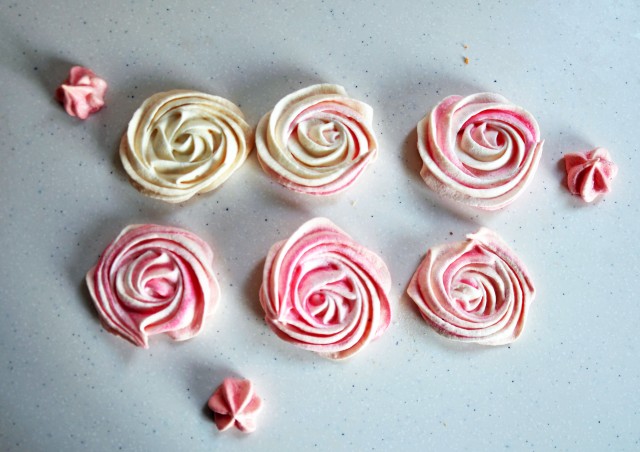
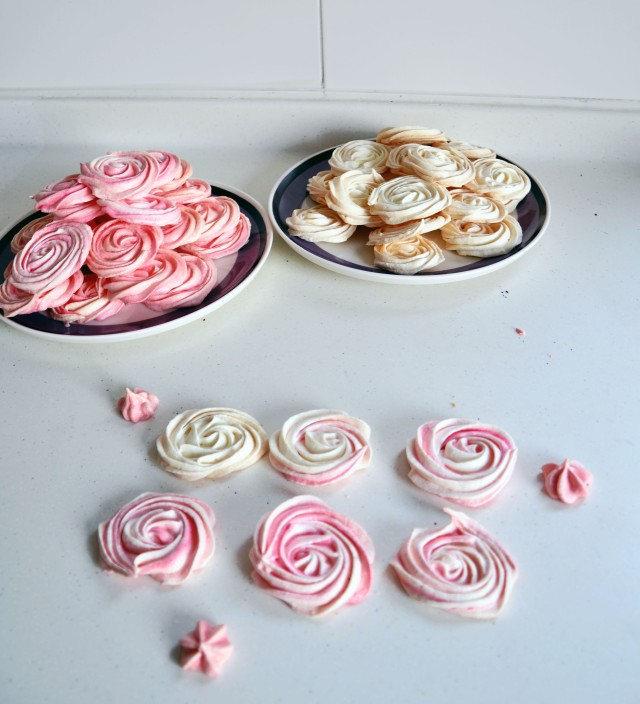
- Divide the meringue into bowls and tint them using food coloring of your choice. Transfer into a piping bag with a star or round tip of your choice and pipe onto two baking sheets lined with parchment paper.
- Bake both trays until crisp, but not browned. This can take anywhere from 1-1.5 hours depending on the size and humidity. You should be able to remove the meringues from the parchment paper without them sticking. Store in an airtight container in the fridge
- For the cheesecake filling, use an electric mixer to whip cream cheese, butter, icing sugar, rose water and food colouring until pale and fluffy. Fold in whipped cream until combined
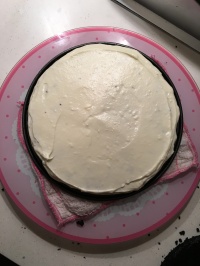
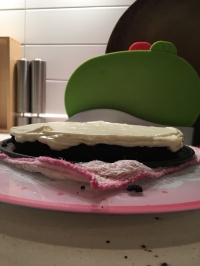
- To assemble, place approximately 1/2 tablespoon of the frosting on the center of a cake board, and place your bottom cake layer onto the cake board. Add about 1/2-3/4 cup frosting onto the top of the cake, and using a small offset spatula, spread the frosting so that it covers the top of the cake. It’s okay to let a little bit of frosting go over the side. At this point, you may sprinkle on some crushed meringues if you wish (making sure to save the pretty ones for decorating!). Add the next cake layer (different flavor) and repeat until you’ve reached your final cake layer
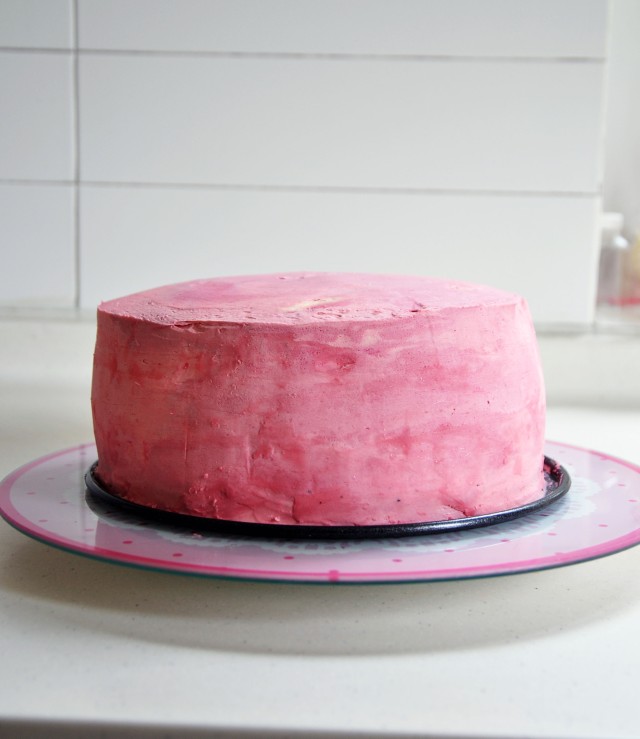
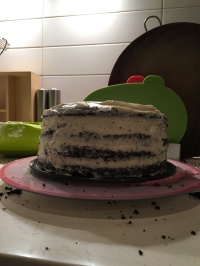
- Cover the cake with a thin layer of frosting, also known as crumb coating it, and chill in fridge for at least 30 minutes
- Cover the cake in a final layer of frosting, and chill in fridge for at least 15 minutes
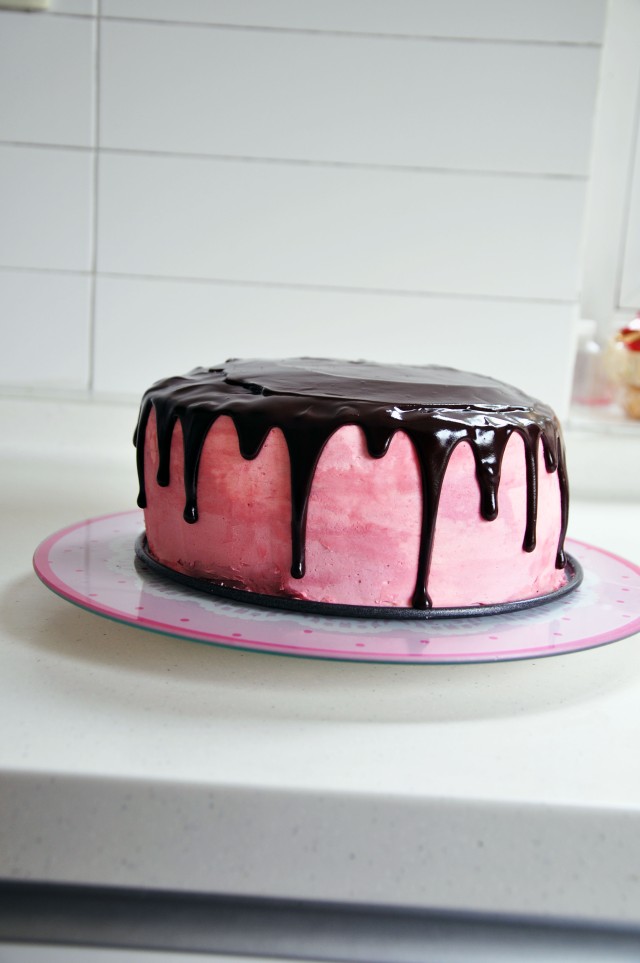
- For the chocolate glaze, in a small bowl, melt the chocolate, butter, corn syrup and salt in the microwave, about 50 seconds, and stir until smooth. Let cool until it thickens slightly, about 15 minutes.
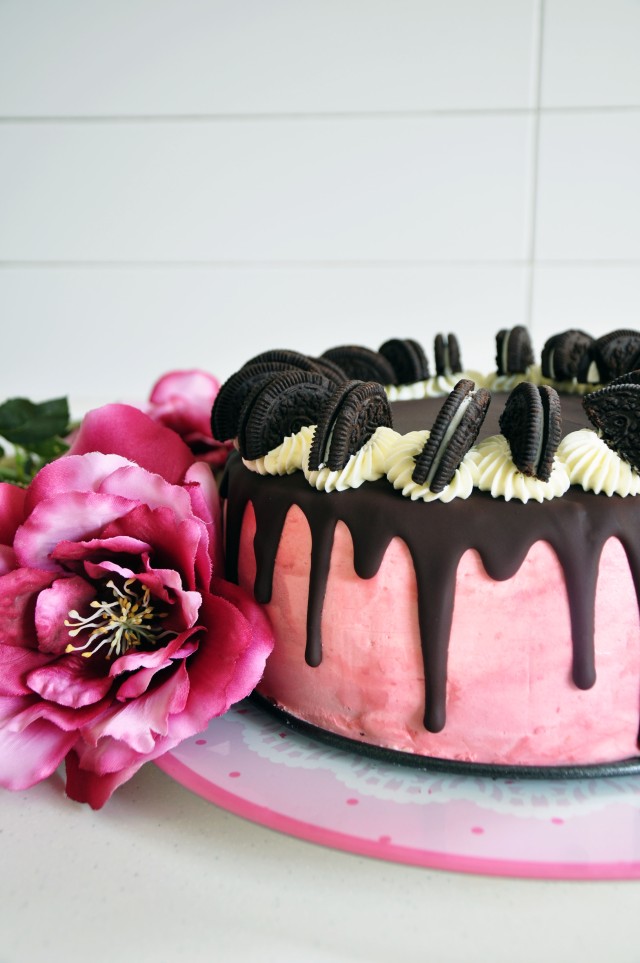
- (Assembling, continued) Remove the cake from the fridge and spoon the chocolate glaze to the edges of the cake, gently pushing some over the side and letting it dribble down. When you’ve finished putting chocolate glaze on the edges of the cake, spoon chocolate glaze into the center until covered. Decorate the cake immediately with meringues and other desirable decorations/sprinkles
- Serve!


