As Thanksgiving grows closer and the world turns to gold, all of us are probably stocking up on pumpkin purée in preparation for all the delicious fall recipes that all the food blogs are throwing at us.
I fall (no pun intended) under both categories. Yes, I’m stocking up on pumpkin purée, and I’m also throwing a pumpkin recipe at you.
This recipe isn’t so much of a Thanksgiving dinner dessert or anything, but they’re still a great way to put all that pumpkin and pumpkin spice to good use.

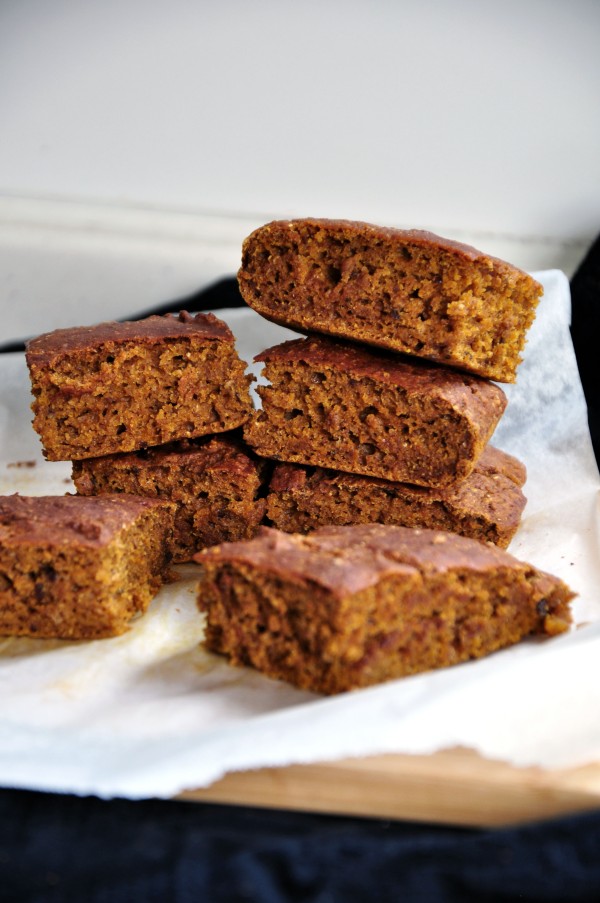
I call them bars because, well, because they’re shaped like bars. In terms of texture and taste, they actually fit better under the ‘scones’ category. Mind you, they’re don’t taste exactly like scones. Personally, I’m not a huge fan of scones – they’re dry and I couldn’t eat one without drowning down a glass of water with it. On the other hand, these pumpkin bar-scone hybrid are wonderfully moist and fluffy thanks to the pumpkin purée.
If you’re super excited about the recipe, feel free to just scroll down now to get to the recipe while I discuss a recent event regarding the seemingly perpetual, controversial topic – veganism.

So yesterday, I conducted a workshop at my school’s Global Issue Conference. It’s a day combined with International Day, in which we all wear something of our countries, attend three workshops, and have a seriously amazing buffet of international foods (it’s everyone’s favorite part of the day. If you were there, you’d know why). Each year, we have a theme to the conference, and this year was no different -“Equality”. Naturally, the first thing my mind went to was animal equality, and so, I presented a workshop about it.
In the workshop, I outlined the hypocrisy of humankind, and how cruel and unnecessary it is for us to eat meat. If you were to see someone on the street taking a baseball bat to a dog’s head, what would you do? You’d try to stop them, of course, as you’d recognize this as a violation of the dog’s right. As earthlings, we all have two things in common: 1. We all desire to live, 2. We all want to be free of pain. The first, creates an equality between us. We all desire the same thing. However, the second desire of earthlings is broken every time we kill a harmless farm animal, thus resulting in an inequality between all animals – including us. Milk isn’t the best source of calcium, and it’s weakening our bones. 100g of t-bone steak may have a whopping 24g of protein, but that comes along with 16g of fat and 20% of your RDA for cholesterol as well.
I could go on and on and on. In fact, I did go on about this for an hour yesterday – three times, at my workshop. My audience in the first and third workshop were rather passive, but my second workshop – oh, man, there were some damn heated debates going on, which made it my favorite workshop. Being able to answer questions in support of what I believe in is a pretty incredible feeling. However, at both the first and second workshop, there was the question: “Are you a vegan?”
In the second workshop, someone who knew my Instagram account shouted out an answer for me. It was an inaccurate answer. He said, “Yeah! She is!”, and I had to gently tell him that no, I wasn’t.
For the rest of the day, guilt gnawed at me. I called out on the hypocrisy of those who want animals to have equal rights, and still eat meat, yet here I was, doing exactly that. But then I thought about my food labels. Not vegan, but flexitarian, or plant-based.
I claim to eat “plant-based”, and yes, the word has “plant” in it, but it also has “based”, indicating that my diet doesn’t consist 100% of plants. If someone were to tell you to watch a movie that was based off of a book, then you’ll understand that although they may have similar characters, setting, and storyline, this doesn’t mean that they are exactly the same. Therefore, when I say that my diet is plant-based, this implies that the majority of the food I eat are sourced by plants, but not all.
Hearing that, you may claim that I don’t care about the animals as I say that I do, but that’s not necessarily true. There are three main reasons why I don’t go full-on “vegan”, and not one of those reasons has to do with a lack of compassion for the animals.
- Family traditions/culture/accessibility. I live in China, my parents, grandparents, and great-grandparents (I assume) are Chinese. If I still lived in the Netherlands, then this may not be as much of an issue, but here in China, vegetarianism isn’t too common, and veganism? Practically unheard of. Then again, this makes sense, as, among multiple other reasons, the Chinese diet doesn’t consist of a lot of meat in the first place. Nonetheless, this makes it difficult for me to access some ingredients that may be common elsewhere. For instance – I only know of one single shop in this entire city that sells coconut oil. Coconut oil is a substitution for butter in tons of vegan recipes. Naturally, there’s nowhere for me to get vegan butter, either, or vegan meat. In addition, my family is incredibly disapproving of vegetarianism. They do believe that we need to eat a variety of foods in order to intake all nutrients, and that includes meat. Fortunately, this, being my main hurdle, allows me to eat vegan foods for breakfast (which I always make for myself), and whenever I have options to choose vegan foods during non-Chinese dinners/lunches.
- Experiences. Food is such an important part to our cultures and lives, and I strictly do not believe that diet should interfere with the experiences that life offers us. Now, I don’t mean that as killing a cow is a once-in-a-lifetime experience! No. Let me give you an example, yesterday, during the Global Issues Conference/International Day, there was some damn good food. I avoided meat where I could, but in all the excitement, there was no way that I was going to point at a cookie and ask for its ingredients, or to stop myself from grabbing a bitterballen from the Dutch food table just because it does contain meat. I put all of my food beliefs aside because I didn’t want it to ruin one of my favorite school events.
- Baking. This one pretty much ties back into my first point. Ingredients for many vegan foods aren’t nearly as readily accessible here in Beijing as they are in many other vegan-friendly cities. Thus, I have to use what I’m given, because (tying back into my second point), I don’t want to limit my baking. As you can tell from this blog, baking is one of the single most important parts of my life. It’s where I find peace and comfort, and it’s something that I’m incredibly passionate about and love doing, and sometimes, I have to make do with what I have.
I want to reiterate that I do choose vegan when I can, but if you can relate to any one, or perhaps even all, of the points that I made, understand that you don’t have to feel guilty for believing in something that perhaps you aren’t able to fully commit to. Take things one step at a time. I’ve almost completely cut milk and cheese out of my diet, and consume the other dairy and meat at minimal amounts.
To conclude, no, I’m not a vegan, yes, I love animals, yes, I avoid animal products, and yes, I encourage you to do the same. Oh, and yes, these spiced pumpkin bars are vegan and delicious and you should go make some right now.
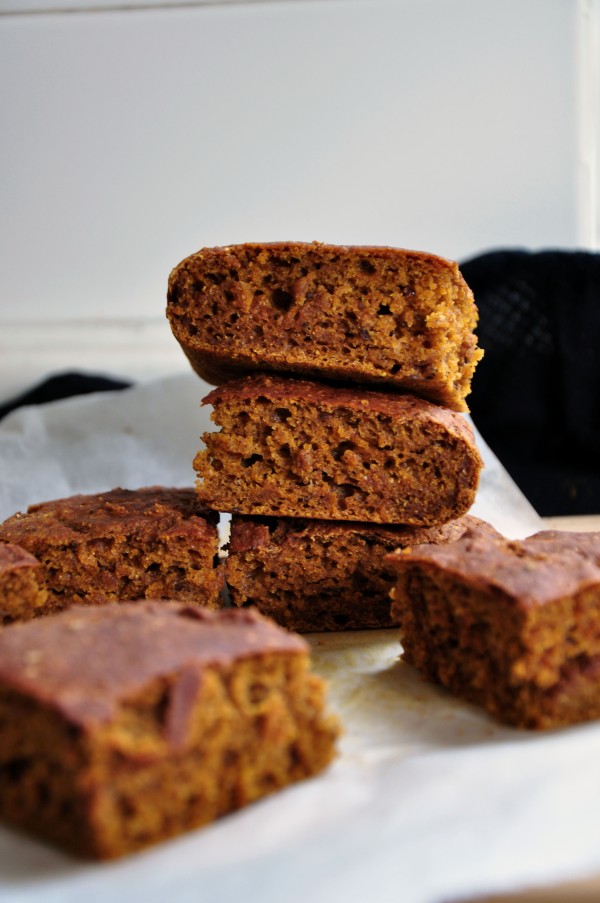
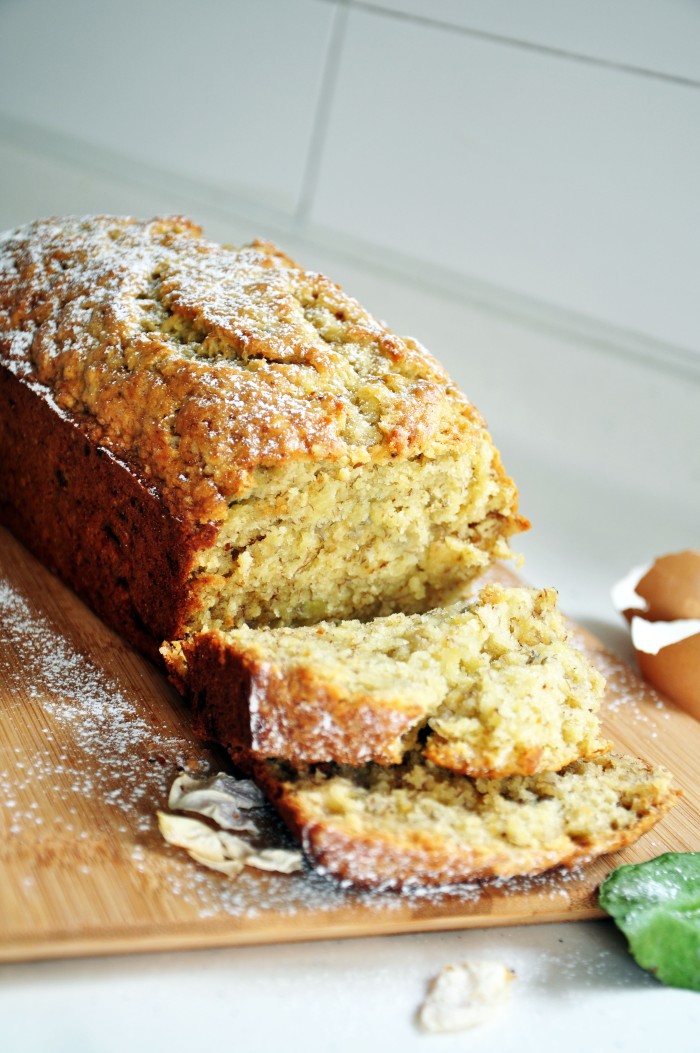
Vegan Spiced Pumpkin Bars
Makes 8 bars
Ingredients
- 1 cup white whole wheat flour
- 2 teaspoons ground cinnamon
- 1 teaspoon pumpkin pie spice
- 1 teaspoon baking powder
- 1/2 teaspoon baking soda
- 1/2 teaspoon salt
- 2 tablespoons ground flaxseed
- 5 tablespoons coconut sugar
- 1/2 cup pumpkin purée
- 3 tablespoons soy or almond milk
- 4 tablespoons applesauce
- 1 teaspoon pure vanilla extract
Method
- Preheat your oven to 175 degrees Celsius or 350 Fahrenheit
- In a large mixing bowl, whisk together the flour, cinnamon, pumpkin pie spice, baking powder, baking soda, salt, flaxseed, and coconut sugar until combined
- Add in the pumpkin purée, milk, applesauce, and vanilla extract and fold together until just combined
- Transfer the mixture into a greased 8-inch square baking tin and bake for 15 minutes, or until a toothpick inserted into the center comes out clean