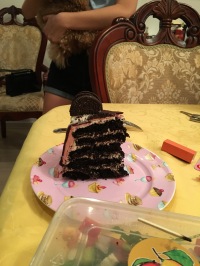
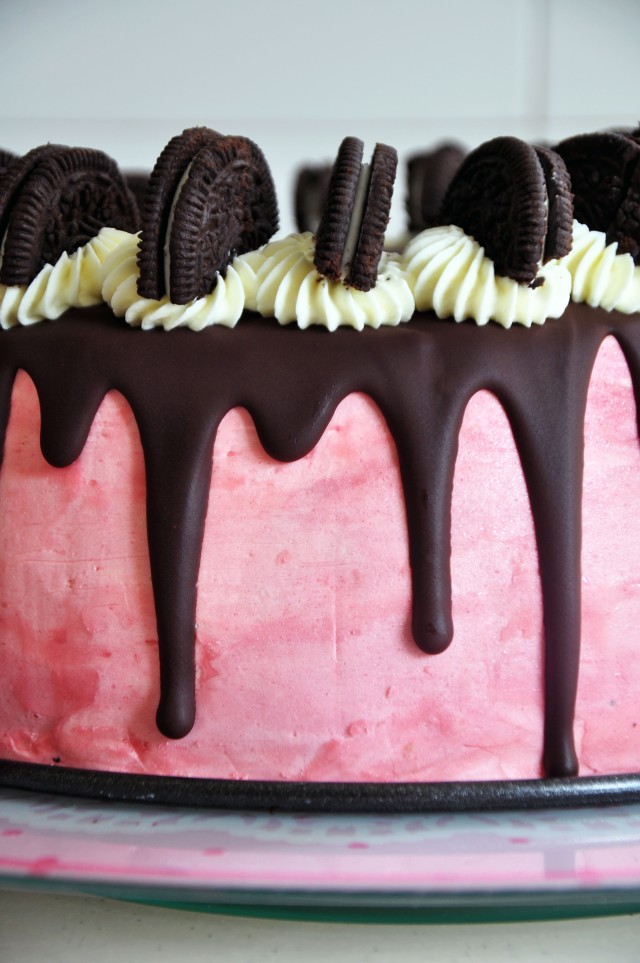
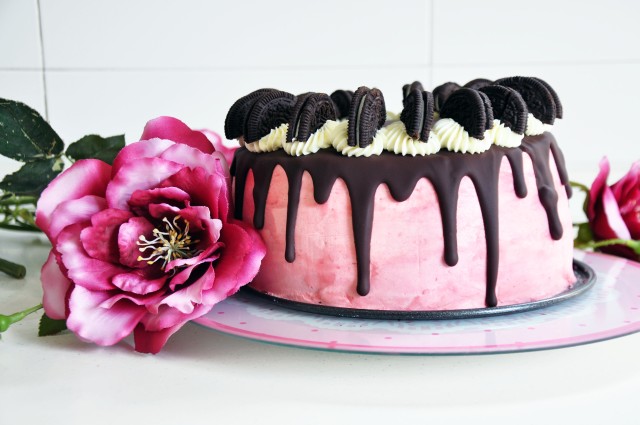
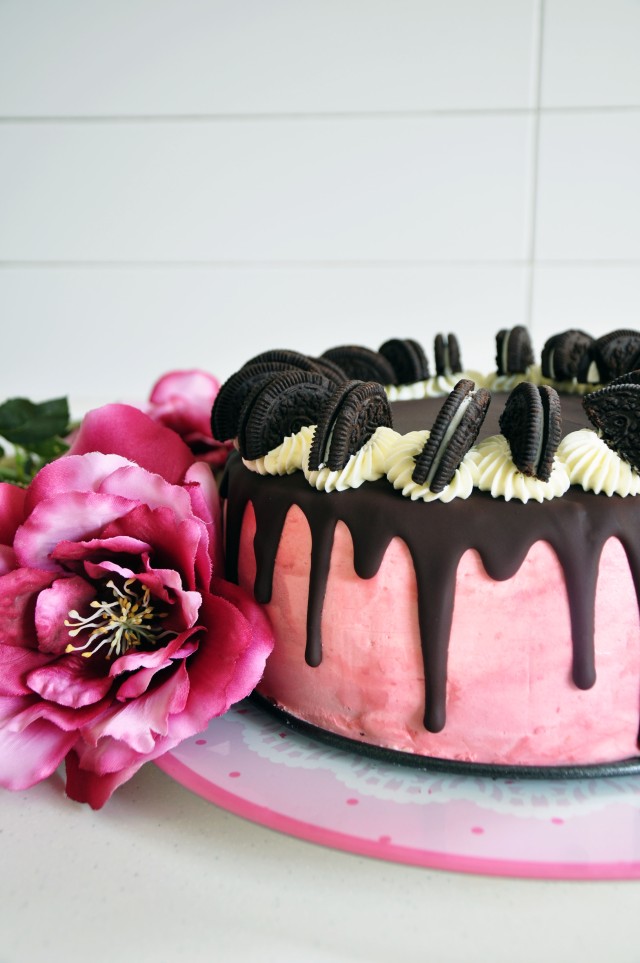
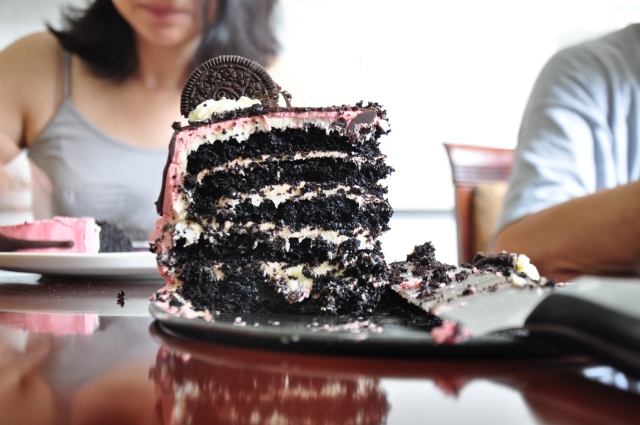
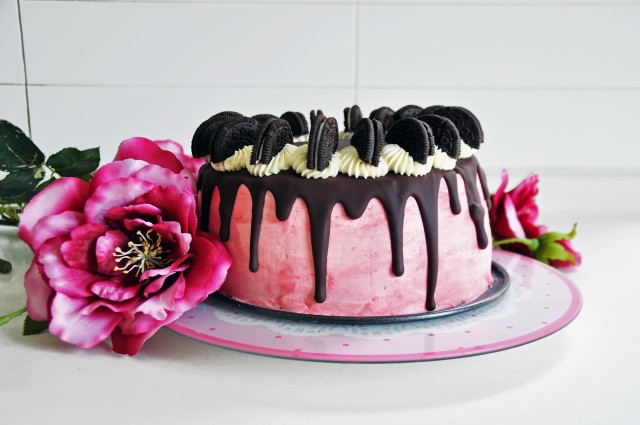
~5-layer midnight cake with cheesecake filling, covered with a generous layer of pink buttercream, glossy chocolate ganache, and topped with whipped cream and Oreos~
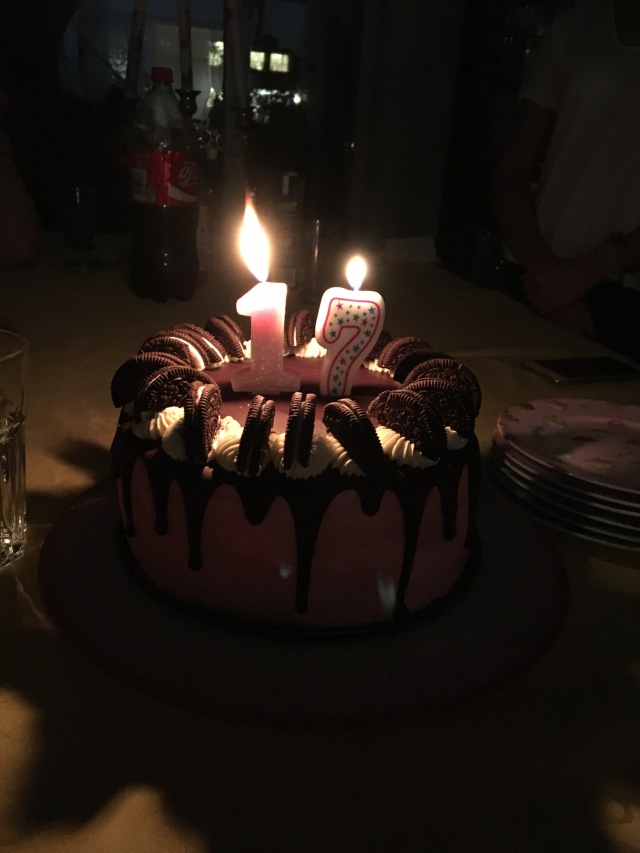
Guess who’s 17 years old!
I have a love-hate relationship with birthdays. I love everything about them, except the fact that I’m another year older. I prefer other people’s birthdays, with all the celebrations and games and cakes and gift-opening, but without me being consciously aware of my ageing.
It’s weird, isn’t it? The way that day by day, hour by hour, we age, but it’s only once a year for 24 hours that we actually acknowledge it. Then again, acknowledging our constant ageing would take some of the fun out of birthdays.

I don’t understand why people want to get older. A pessimistic way of putting is is that every year, you’re a year closer to death. You become more likely to get sick. You have more responsibilities. Then again, an optimistic way of seeing is is that every year, you are faced with new opportunities. You’ll graduate and start a new chapter of your life. You might get a job. You might meet “the one”. You might get married. You might have kids. Who knows? In the end, the best way to predict your future is to live it the way you want. Sometime’s it’s just easier to be passive to all that happens around you, so that when things go wrong, you can blame the world and carry on, but wow, that must get boring. The happiest people are those who take control of their lives and steer it the way they want to go. When things go wrong, they acknowledge their mistakes and learn from them, and when things go right, they’re living Heaven on Earth. You pick (hint: I’d go with the second one).
I always seem to get really reflective on my birthday. Is it just me?
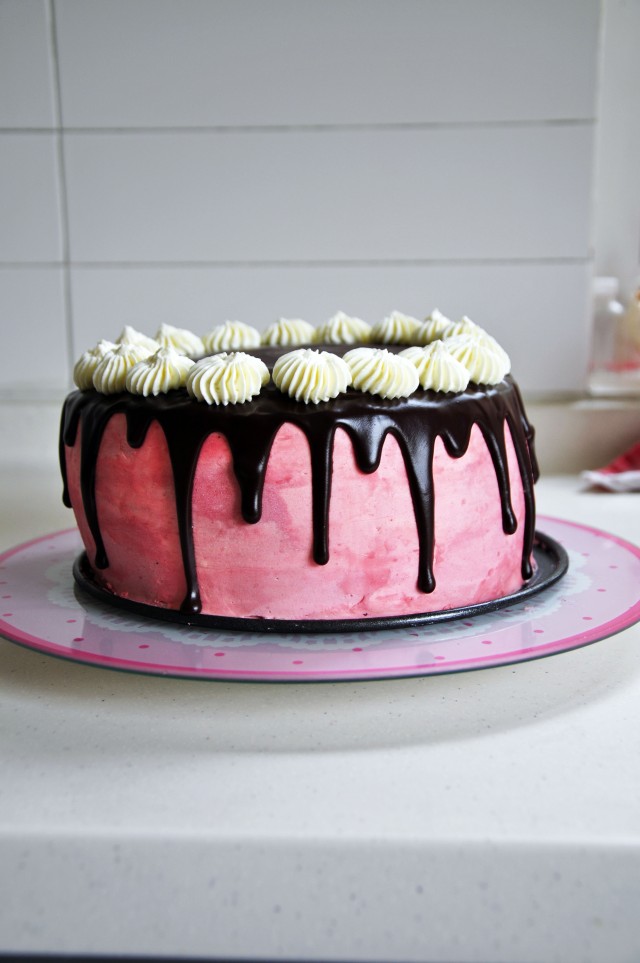
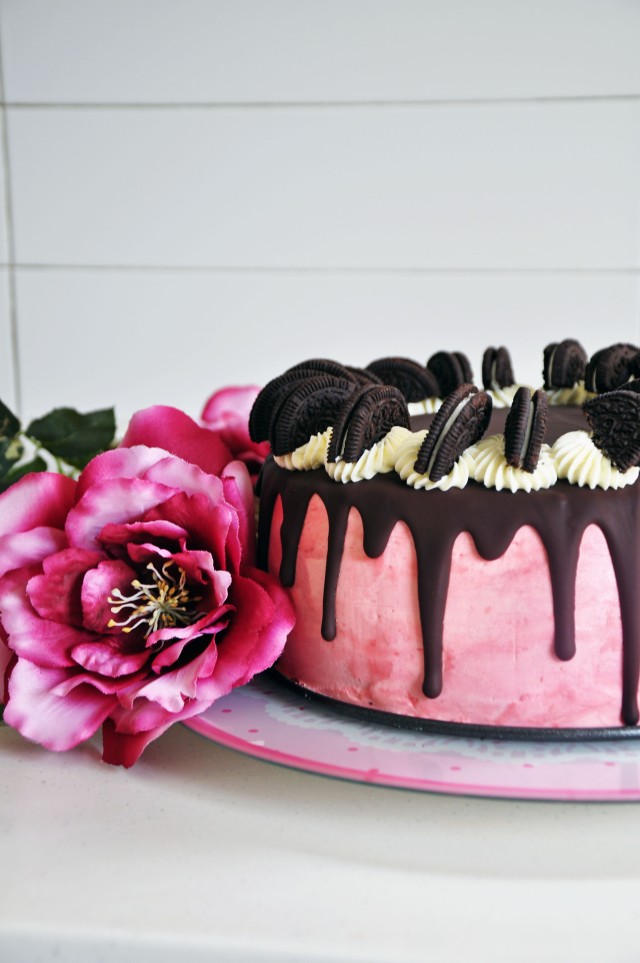
But let’s focus on the real reason you’re here: CAKE!
Another reason why I always get excited about birthdays – cake. This year, I decided to bake myself a 5-layer midnight cake with cheesecake filling, covered with a generous layer of pink buttercream, glossy chocolate ganache, and topped with whipped cream and Oreos. Helll yes.
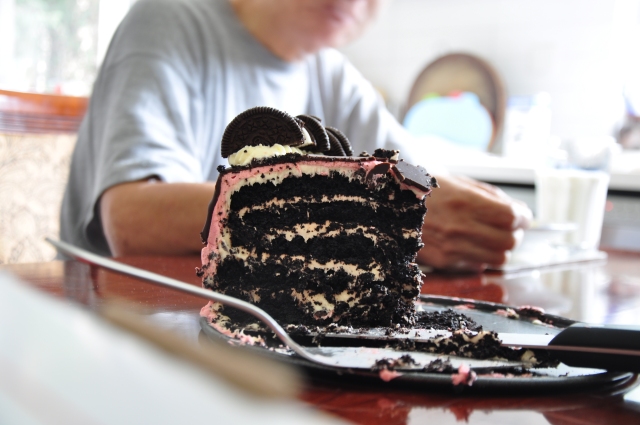
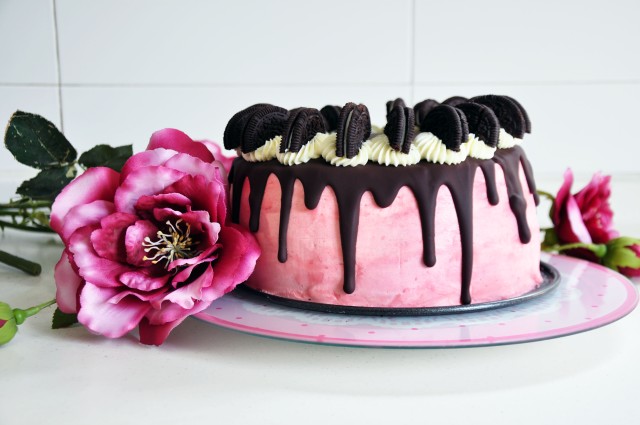
To be honest, the cake is pretty much just a chocolate cake with black food colouring added. I used to not like chocolate cake. I thought that it was too rich. I’d always opt for vanilla or red velvet. Chocolate cake just wasn’t my thing, but alas, times have changed. Maybe I’d been deprived of chocolate cake for too long, but this chocolate cake was the bomb. Even before I baked the cake, the cake batter was waving chocolatey scents at me, trying to get me to give in and admit that chocolate cake is one of the best kinds of cake. While I was trimming the cakes, I nibbled on some of the cake crumbs and I was in awe, trying to understand how I had ever disliked chocolate cake. This chocolate cake is velvety. It’s suuper moist and it’s perfectly sweet. It has a wonderful cocoa flavour that isn’t overwhelming, and it pairs beautifully with all the other flavours going on in this cake.
Speaking of other flavours…THE CHEESECAKE FILLING. I don’t know how many times I’ve said it, but cream cheese frostings are magical. Maybe that’s a biased opinion because they’re my favourite, but tbh I’ve never met anyone who dislikes cream cheese frosting. The cheesecake filling tastes pretty much just like cream cheese frosting, but there isn’t as much butter. The butter’s replaced with whipped cream, which is just folded in at the end, so that you end up with filling that’s extra fluffy and light, but definitely is not missing any flavour.
I don’t want to be writing an essay here, so I’m just going to tell you that the buttercream, chocolate ganache, whipping cream, and Oreos are perfect. Simply, utterly, perfect.
5-Layer Midnight Cake with Cheesecake Filling and Pink Buttercream
Adapted from various sources (linked below)
Ingredients
- 2 1/4 cups (285 g) all-purpose flour
- 2 1/4 cups (450 g) superfine sugar
- 1 cup (120 g) “black” unsweetened cocoa powder (or regular cocoa powder with 1 teaspoon black gel food colouring)
- 1 tablespoon baking soda
- 1 1/2 teaspoons baking powder
- 1 teaspoon salt
- 1 1/2 cups (360 ml) buttermilk, room temperature
- 1 cup (240 ml) hot coffee
- 3/4 cup (180 ml) vegetable oil
- 2 teaspoons pure vanilla extract
- 3 eggs, room temperature
For the cheesecake filling
- 500g cream cheese, softened
- 100g unsalted butter, softened
- 200g freshly whipped cream
- 200g icing sugar, sifted
For the pink buttercream
- 1 cup (226g) unsalted butter
- 4 cups (500g) powdered sugar
- 1 tablespoons whipping cream
- 1 teaspoon pure vanilla extract
- 1/2 teaspoon pink food colouring
For the chocolate ganache
- 5 ounces (150 g) best-quality dark chocolate, chopped (I used Lindt)
- 3/4 cup (90 g) unsalted butter
- 1 tablespoon light corn syrup or honey
For the whipping cream
- 1/2 cup whipping cream
- 1-2 tablespoons powdered sugar, to taste
- Oreos, for topping
Method
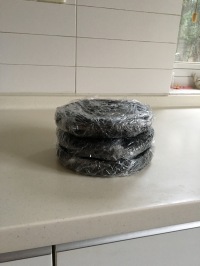
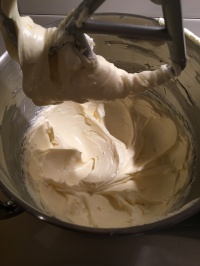
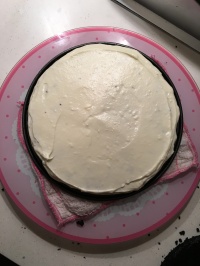
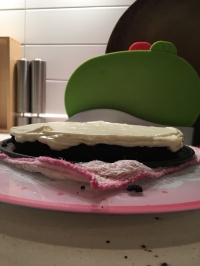
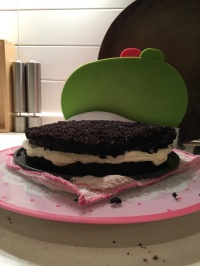
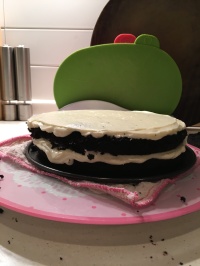
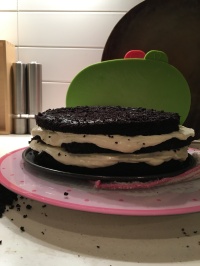
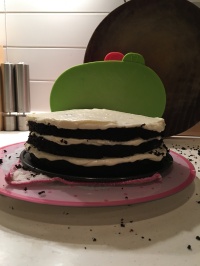
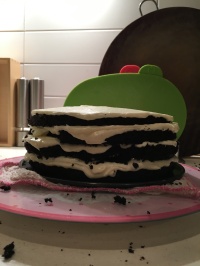
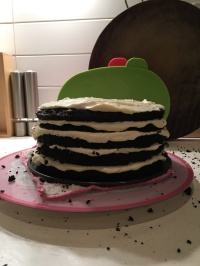
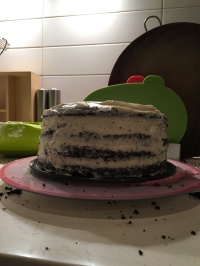
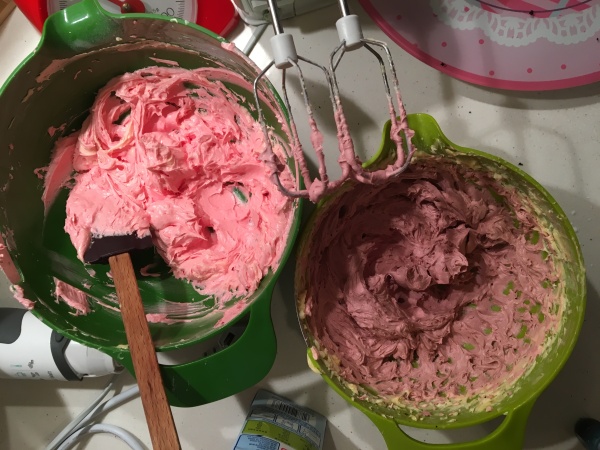
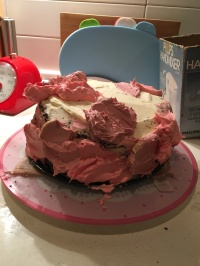
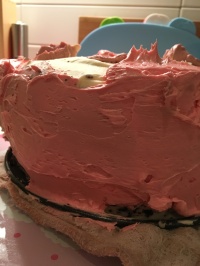
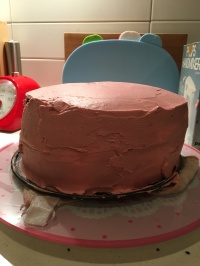
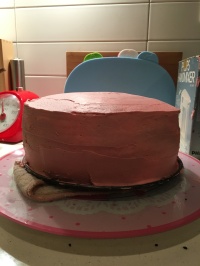
I’ve included generic bad-quality, unedited photos that I took while I was assembling the cake for reference. Let me know if you have any questions!
- For the cake, preheat oven to 180 degrees Celsius or 350 degrees Fahrenheit
- In a large mixing bowl, sift flour, sugar, black cocoa powder, baking soda, baking powder, and salt
- In a medium bowl or measuring cup, combine the buttermilk, coffee, oil, and vanilla, and then mix in eggs
- Add liquid mixture to dry ingredients and whisk until smooth, about 1 minute. Divide batter equally among the three lined and greased 8-inch cake pans or weigh for accuracy. Each pan should weigh about 600 grams
- Bake the first two layers until a wooden pick inserted into the centre of the cake comes out clean, about 23 minutes. Allow the cakes to cool in pans on a wire rack for 10 minutes, and then turn onto rack to cool completely. Repeat with the final cake layer. When ready to assemble the cake, wrap the layers in plastic wrap and chill for about 30 minutes.
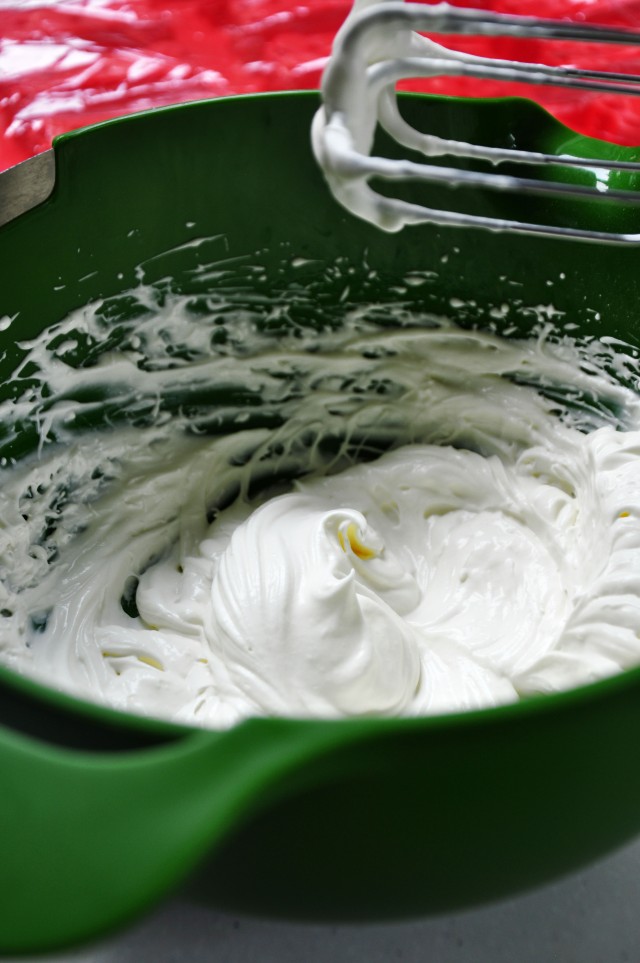
- For the cheesecake filling, use an electric mixer to whip cream cheese, butter, and icing sugar until pale and fluffy. Fold in whipped cream until combined
- For the pink buttercream, use an electric mixer to beat the butter until pale and fluffy. Add in the icing sugar, vanilla extract, food colouring, and 1 tablespoon of whipping cream and beat until combined
- To assemble the cake, trim the cake layers, and then halve them so that each cake becomes two layers.
- Place approximately 1/2 tablespoon of the cheesecake filling (or buttercream) on the center of a cake board, and place your bottom cake layer onto the cake board. Add about 1/2-3/4 cup of cheesecake filling onto the top of the cake, and using a small offset spatula, spread the filling so that it covers the top of the cake. It’s okay to let a little bit of filling go over the side. Add the next cake layer and repeat until you’ve reached your final cake layer
- Cover the cake with a thin layer of the cheesecake filling (or buttercream), also known as crumb coating it, and chill in fridge for at least 30 minutes
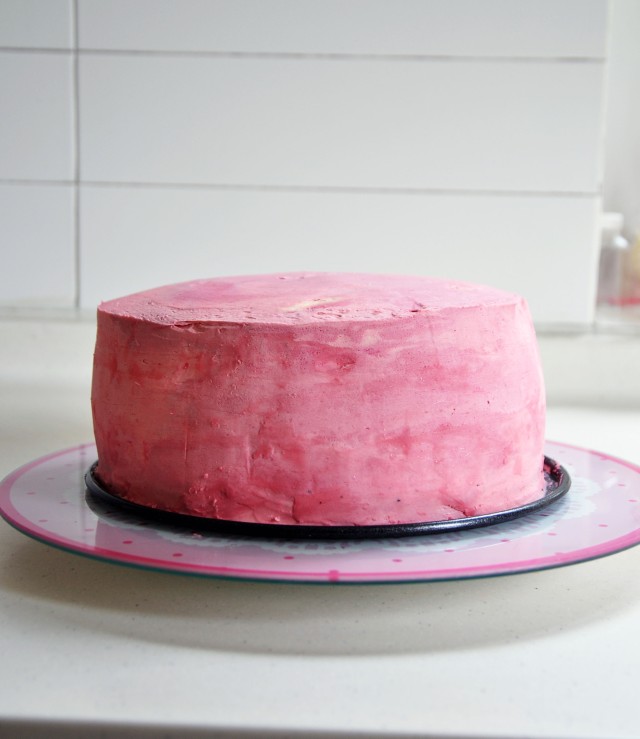
- Cover the cake in pink buttercream and chill in fridge for at least 15 minutes
- In the meantime, make the chocolate ganache. In a small bowl, melt the chocolate, butter, corn syrup and salt in the microwave, about 50 seconds, and stir until smooth. Let cool until it thickens slightly, about 15 minutes
- For the whipping cream, use a whisk or electric hand mixer to whip the cream until stiff peaks form. Whisk in the powdered sugar. Transfer the mixture into a piping bag fitted with a star tip
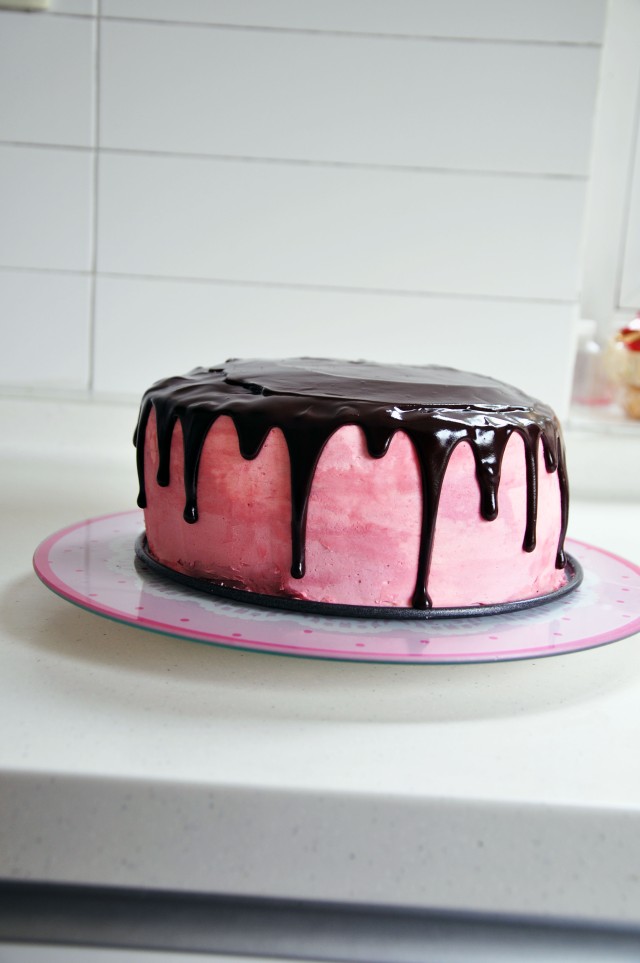
- (Assembling, continued) Remove the cake from the fridge and spoon the chocolate glaze to the edges of the cake, gently pushing some over the side and letting it dribble down. When you’ve finished putting chocolate glaze on the edges of the cake, spoon chocolate glaze into the centre until covered
- When the chocolate has set slightly, pipe the whipped cream around the edges of the cake and top each swirl with half an Oreo
- Serve!
