My 17th Birthday Cake (Cheat)

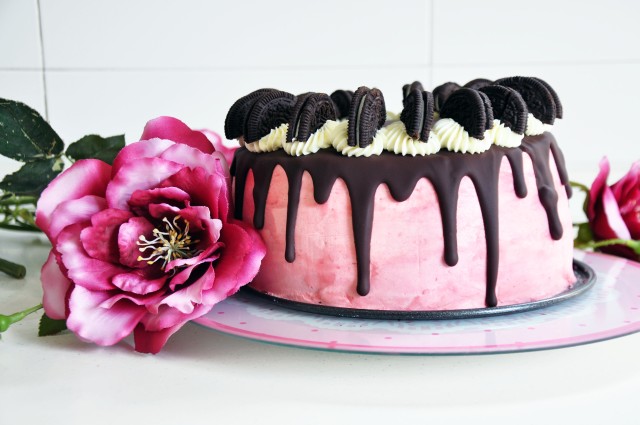
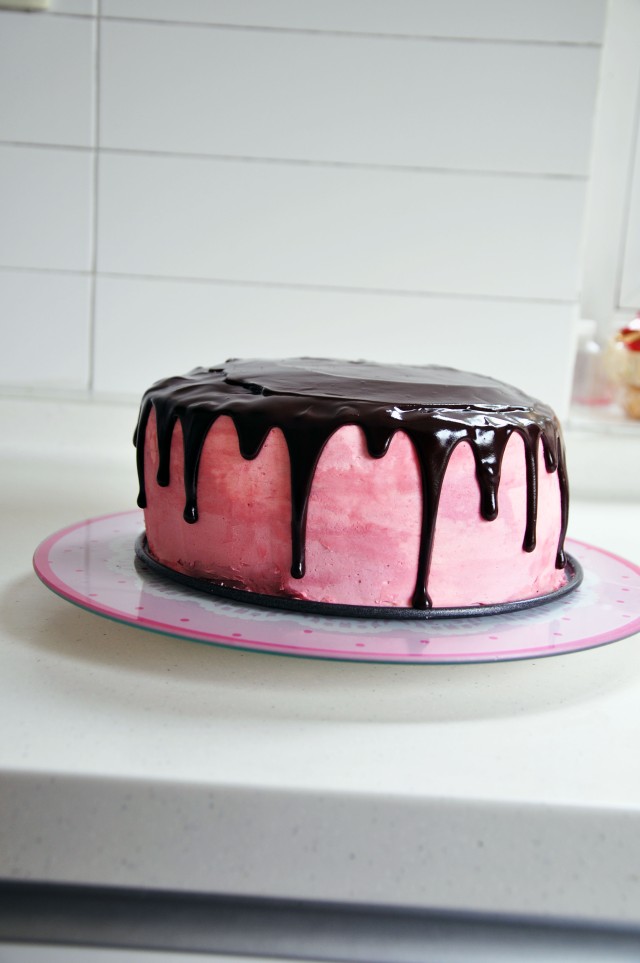
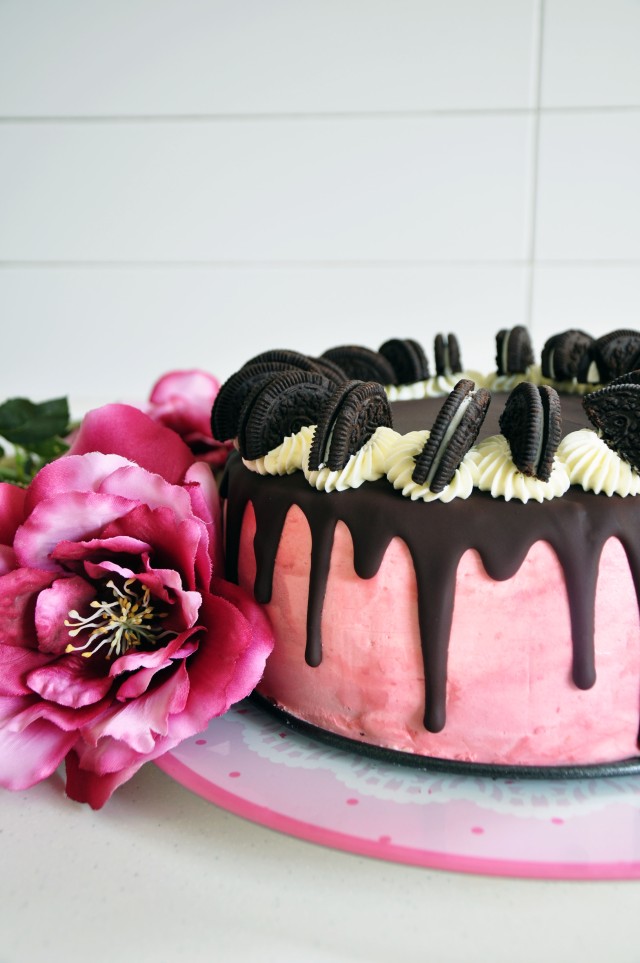
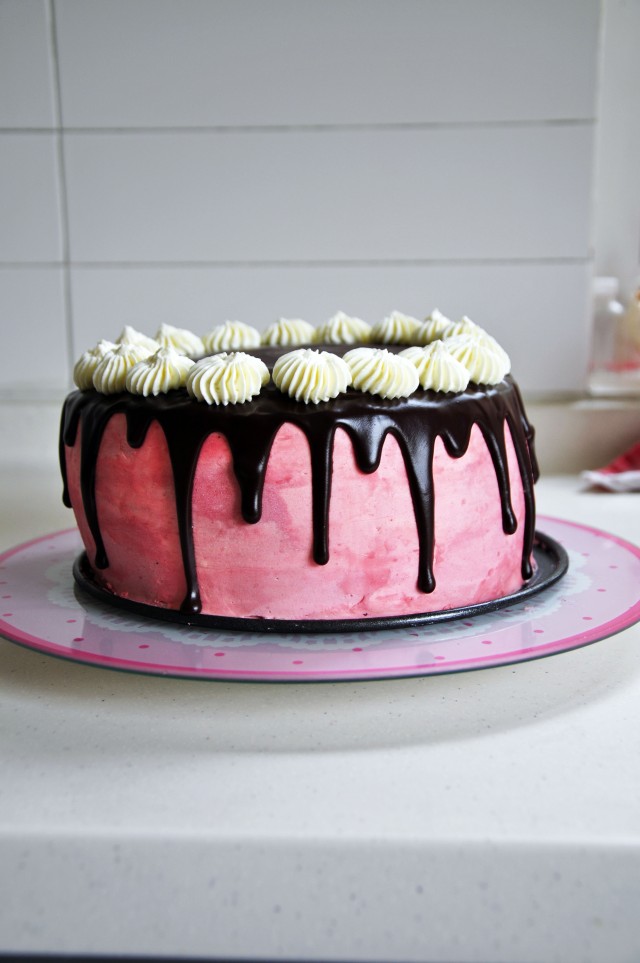
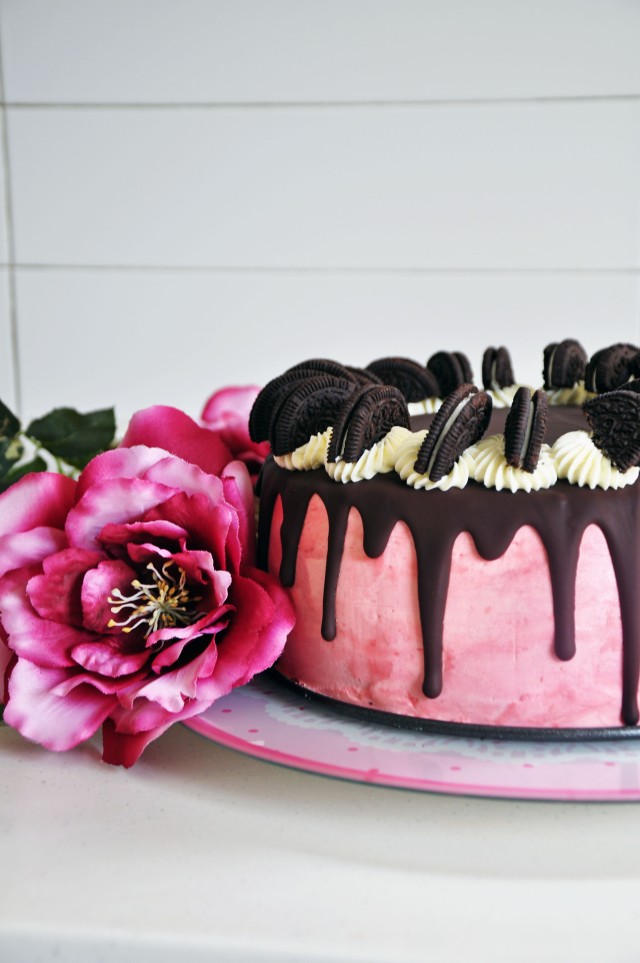
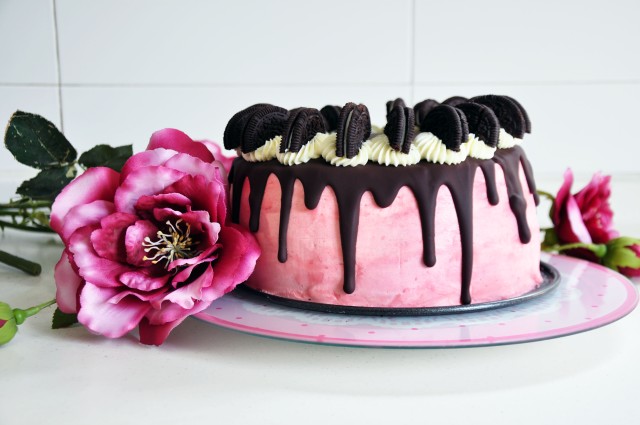
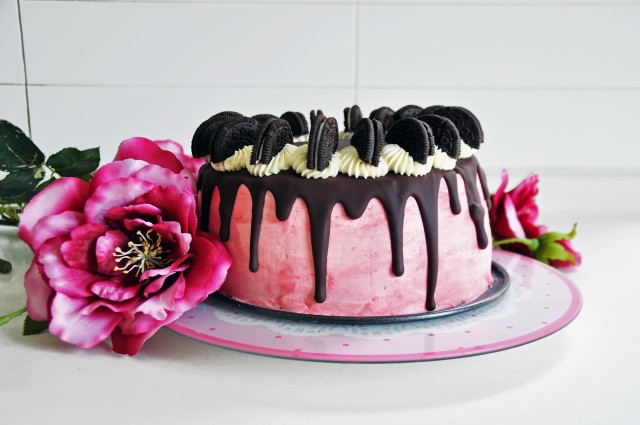
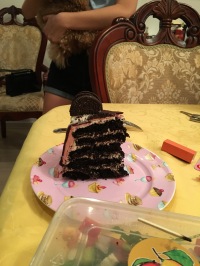
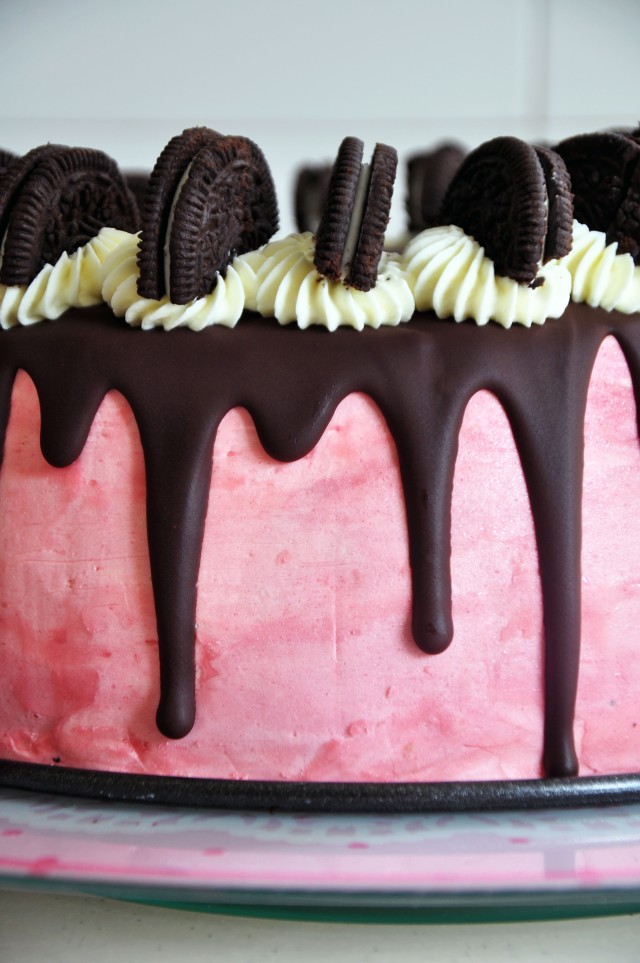
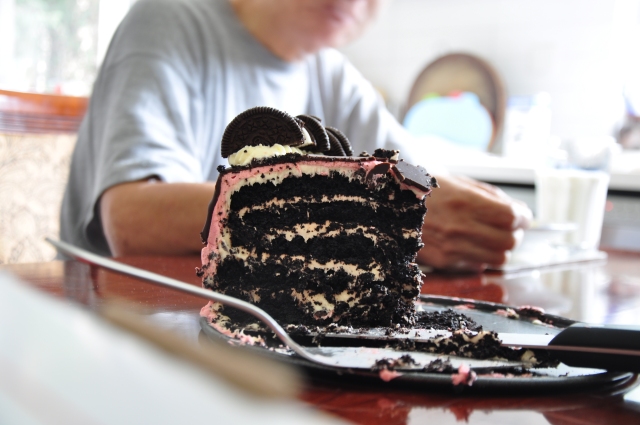
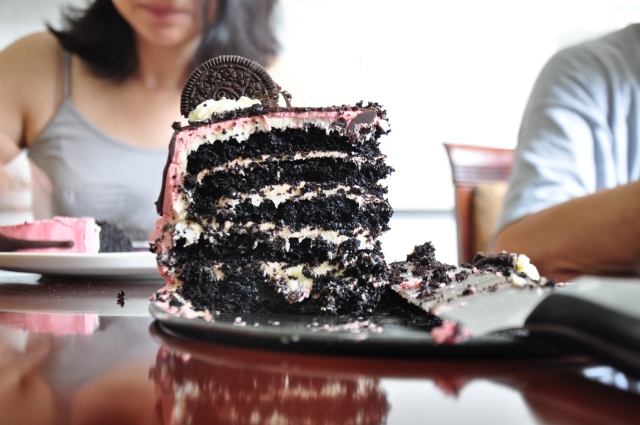
~5-layer midnight cake with cheesecake filling, covered with a generous layer of pink buttercream, glossy chocolate ganache, and topped with whipped cream and Oreos~
dsc_0910

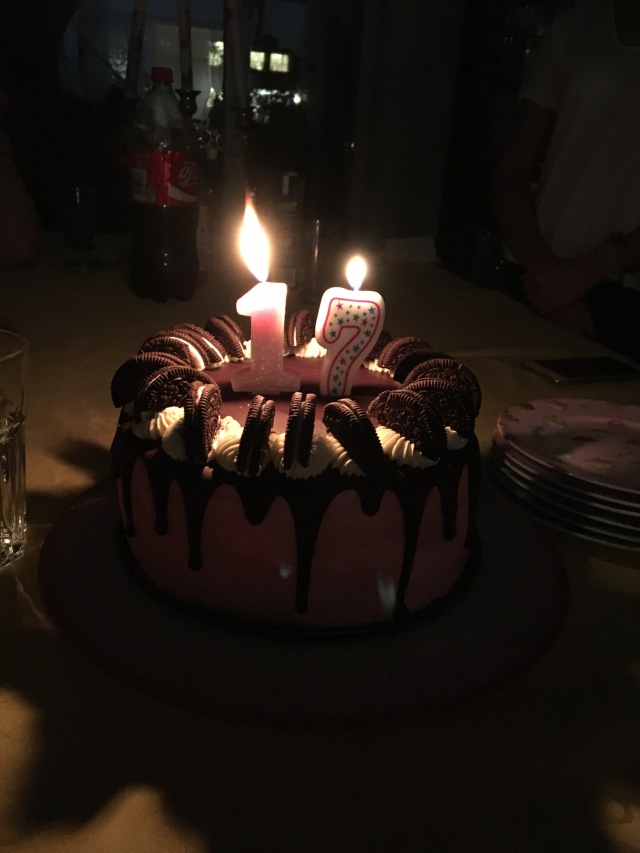
Guess who’s 17 years old!

dsc_0898

I have a love-hate relationship with birthdays. I love everything about them, except the fact that I’m another year older. I prefer other people’s birthdays, with all the celebrations and games and cakes and gift-opening, but without me being consciously aware of my ageing.

It’s weird, isn’t it? The way that day by day, hour by hour, we age, but it’s only once a year for 24 hours that we actually acknowledge it. Then again, acknowledging our constant ageing would take some of the fun out of birthdays.
dsc_0860

dsc_0872

dsc_0881

dsc_0894

I don’t understand why people want to get older. A pessimistic way of putting is is that every year, you’re a year closer to death. You become more likely to get sick. You have more responsibilities. Then again, an optimistic way of seeing is is that every year, you are faced with new opportunities. You’ll graduate and start a new chapter of your life. You might get a job. You might meet “the one”. You might get married. You might have kids. Who knows? In the end, the best way to predict your future is to live it the way you want. Sometime’s it’s just easier to be passive to all that happens around you, so that when things go wrong, you can blame the world and carry on, but wow, that must get boring. The happiest people are those who take control of their lives and steer it the way they want to go. When things go wrong, they acknowledge their mistakes and learn from them, and when things go right, they’re living Heaven on Earth. You pick (hint: I’d go with the second one).

I always seem to get really reflective on my birthday. Is it just me?
dsc_0877

dsc_0880

dsc_0887

But let’s focus on the real reason you’re here: CAKE!

Another reason why I always get excited about birthdays – cake. This year, I decided to bake myself a 5-layer midnight cake with cheesecake filling, covered with a generous layer of pink buttercream, glossy chocolate ganache, and topped with whipped cream and Oreos. Helll yes.
dsc_0960

dsc_0899

To be honest, the cake is pretty much just a chocolate cake with black food colouring added. I used to not like chocolate cake. I thought that it was too rich. I’d always opt for vanilla or red velvet. Chocolate cake just wasn’t my thing, but alas, times have changed. Maybe I’d been deprived of chocolate cake for too long, but this chocolate cake was the bomb. Even before I baked the cake, the cake batter was waving chocolatey scents at me, trying to get me to give in and admit that chocolate cake is one of the best kinds of cake. While I was trimming the cakes, I nibbled on some of the cake crumbs and I was in awe, trying to understand how I had ever disliked chocolate cake. This chocolate cake is velvety. It’s suuper moist and it’s perfectly sweet. It has a wonderful cocoa flavour that isn’t overwhelming, and it pairs beautifully with all the other flavours going on in this cake.

Speaking of other flavours…THE CHEESECAKE FILLING. I don’t know how many times I’ve said it, but cream cheese frostings are magical. Maybe that’s a biased opinion because they’re my favourite, but tbh I’ve never met anyone who dislikes cream cheese frosting. The cheesecake filling tastes pretty much just like cream cheese frosting, but there isn’t as much butter. The butter’s replaced with whipped cream, which is just folded in at the end, so that you end up with filling that’s extra fluffy and light, but definitely is not missing any flavour.

I don’t want to be writing an essay here, so I’m just going to tell you that the buttercream, chocolate ganache, whipping cream, and Oreos are perfect. Simply, utterly, perfect.
dsc_0963

img_6205

dsc_0902

5-Layer Midnight Cake with Cheesecake Filling and Pink Buttercream

Adapted from various sources (linked below)

Ingredients

For the cake

  • 2 1/4 cups (285 g) all-purpose flour
  • 2 1/4 cups (450 g) superfine sugar
  • 1 cup (120 g) “black” unsweetened cocoa powder (or regular cocoa powder with 1 teaspoon black gel food colouring)
  • 1 tablespoon baking soda
  • 1 1/2 teaspoons baking powder
  • 1 teaspoon salt
  • 1 1/2 cups (360 ml) buttermilk, room temperature
  • 1 cup (240 ml) hot coffee
  • 3/4 cup (180 ml) vegetable oil
  • 2 teaspoons pure vanilla extract
  • 3 eggs, room temperature

For the cheesecake filling

  • 500g cream cheese, softened
  • 100g unsalted butter, softened
  • 200g freshly whipped cream
  • 200g icing sugar, sifted

For the pink buttercream

  • 1 cup (226g) unsalted butter
  • 4 cups (500g) powdered sugar
  • 1 tablespoons whipping cream
  • 1 teaspoon pure vanilla extract
  • 1/2 teaspoon pink food colouring

For the chocolate ganache

  • 5 ounces (150 g) best-quality dark chocolate, chopped (I used Lindt)
  • 3/4 cup (90 g) unsalted butter
  • 1 tablespoon light corn syrup or honey

For the whipping cream

  • 1/2 cup whipping cream
  • 1-2 tablespoons powdered sugar, to taste
  • Oreos, for topping

Method

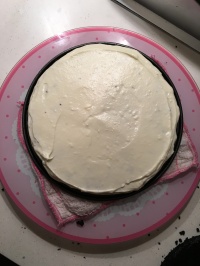
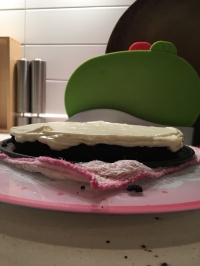
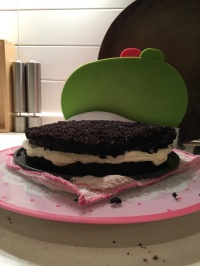
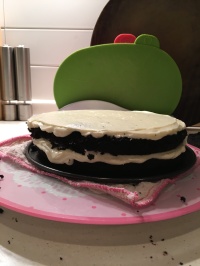
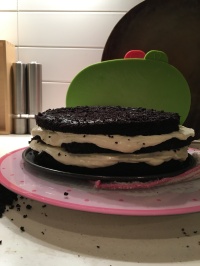
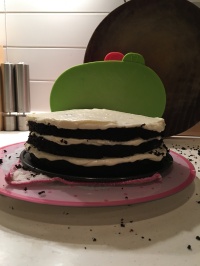
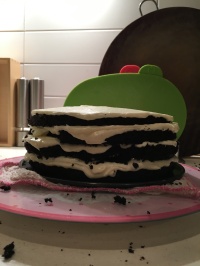
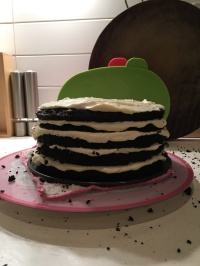
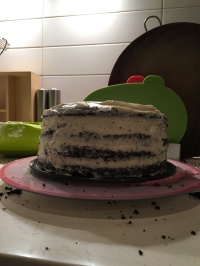
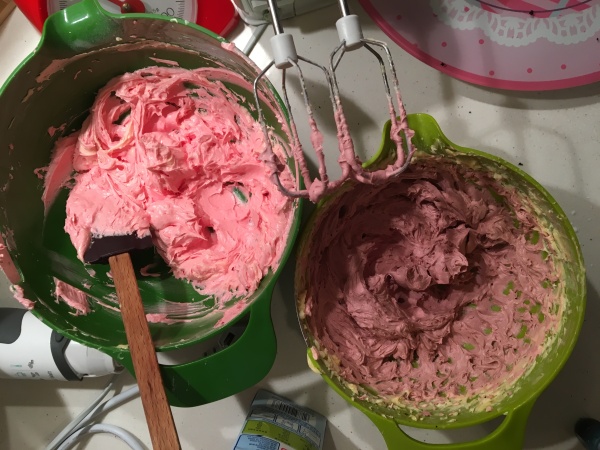
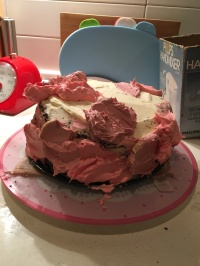
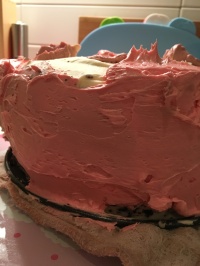
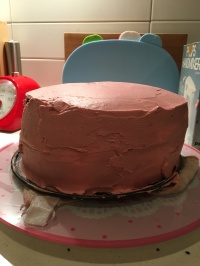
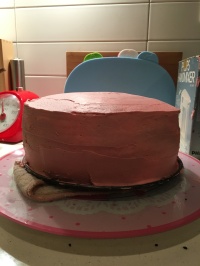
I’ve included generic bad-quality, unedited photos that I took while I was assembling the cake for reference. Let me know if you have any questions!

  1. For the cake, preheat oven to 180 degrees Celsius or 350 degrees Fahrenheit
  2. In a large mixing bowl, sift flour, sugar, black cocoa powder, baking soda, baking powder, and salt
  3. In a medium bowl or measuring cup, combine the buttermilk, coffee, oil, and vanilla, and then mix in eggs
  4. Add liquid mixture to dry ingredients and whisk until smooth, about 1 minute. Divide batter equally among the three lined and greased 8-inch cake pans or weigh for accuracy. Each pan should weigh about 600 grams
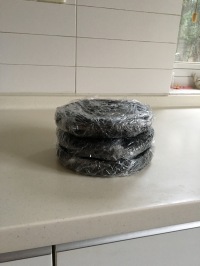
  5. Bake the first two layers until a wooden pick inserted into the centre of the cake comes out clean, about 23 minutes. Allow the cakes to cool in pans on a wire rack for 10 minutes, and then turn onto rack to cool completely. Repeat with the final cake layer. When ready to assemble the cake, wrap the layers in plastic wrap and chill for about 30 minutes.
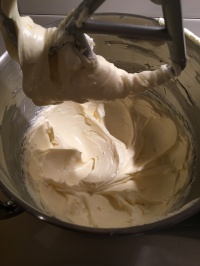
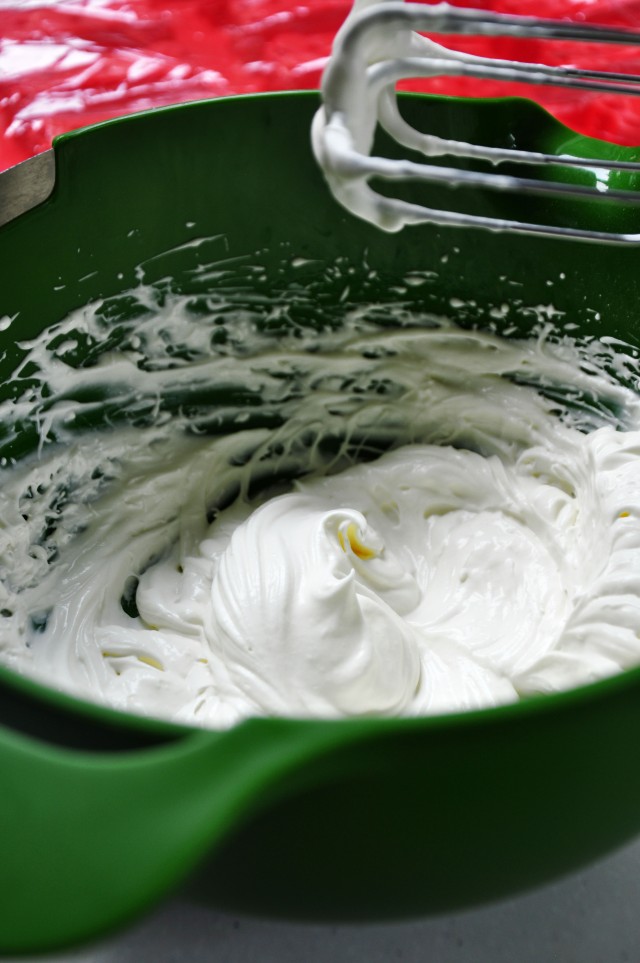
  6. For the cheesecake filling, use an electric mixer to whip cream cheese, butter, and icing sugar until pale and fluffy. Fold in whipped cream until combined
  7. For the pink buttercream, use an electric mixer to beat the butter until pale and fluffy. Add in the icing sugar, vanilla extract, food colouring, and 1 tablespoon of whipping cream and beat until combined
  8. To assemble the cake, trim the cake layers, and then halve them so that each cake becomes two layers.
  9. Place approximately 1/2 tablespoon of the cheesecake filling (or buttercream) on the center of a cake board, and place your bottom cake layer onto the cake board. Add about 1/2-3/4 cup of cheesecake filling onto the top of the cake, and using a small offset spatula, spread the filling so that it covers the top of the cake. It’s okay to let a little bit of filling go over the side. Add the next cake layer and repeat until you’ve reached your final cake layer
  10. Cover the cake with a thin layer of the cheesecake filling (or buttercream), also known as crumb coating it, and chill in fridge for at least 30 minutes
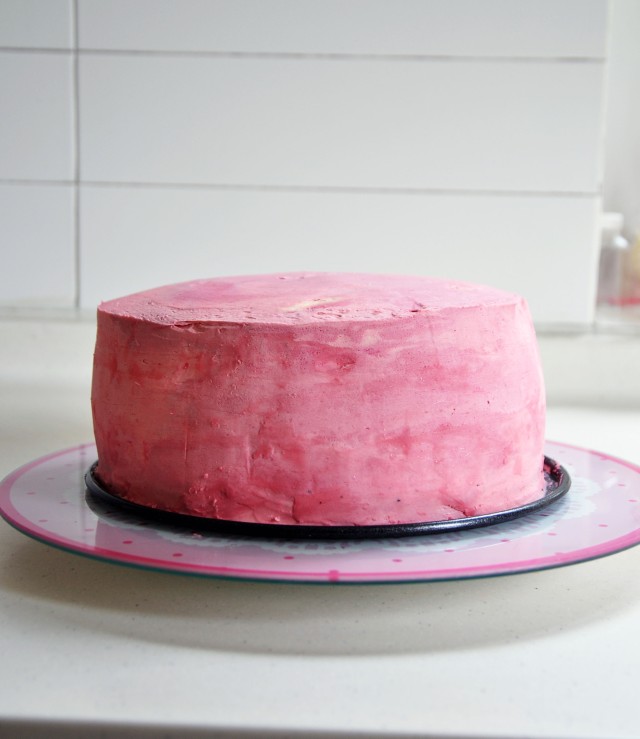
  11. Cover the cake in pink buttercream and chill in fridge for at least 15 minutes
  12. In the meantime, make the chocolate ganache. In a small bowl, melt the chocolate, butter, corn syrup and salt in the microwave, about 50 seconds, and stir until smooth. Let cool until it thickens slightly, about 15 minutes
  13. For the whipping cream, use a whisk or electric hand mixer to whip the cream until stiff peaks form. Whisk in the powdered sugar. Transfer the mixture into a piping bag fitted with a star tip
  14. (Assembling, continued) Remove the cake from the fridge and spoon the chocolate glaze to the edges of the cake, gently pushing some over the side and letting it dribble down. When you’ve finished putting chocolate glaze on the edges of the cake, spoon chocolate glaze into the centre until covered
  15. When the chocolate has set slightly, pipe the whipped cream around the edges of the cake and top each swirl with half an Oreo
  16. Serve!

img_5968img_5972img_5976

img_5977img_5981img_5983img_5987img_5992img_5994img_5997img_6002img_6009

img_6105

img_6106img_6109img_6112img_6114img_6118img_6212

Blueberry Bread (Cheat)

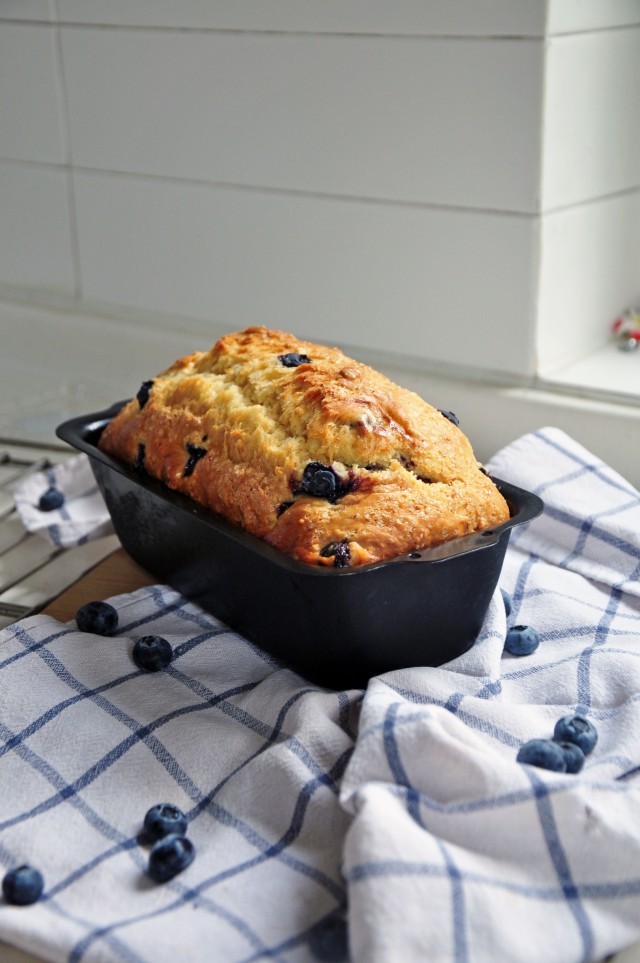
It’s blueberry season (I think)! Have some blueberry bread~

DSC_0515.

DSC_0542.

I’m still in utter disbelief that school starts in half a month. It’s honestly so depressing to think about all that work ahead of me that I’ve been procrastinating – college apps, extended essay, IAs…

GAH ok I won’t think about that now. For now, I’m gonna focus on telling you about this blueberry bread, aight? Blueberry bread. Blueberry bread.

DSC_0521.

DSC_0539.

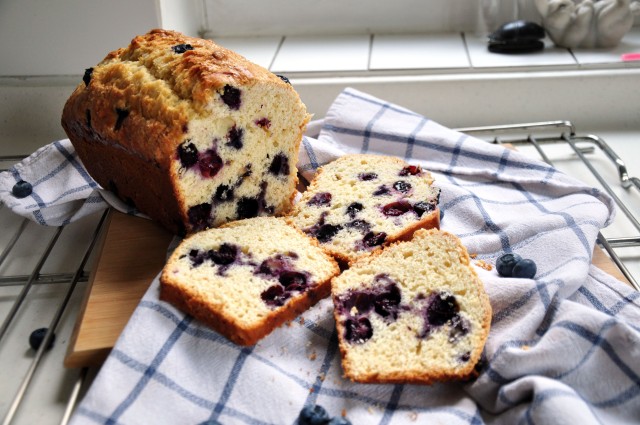
This blueberry bread is everything you’d want in a loaf cake. It has just the right texture and flavor, not to mention that its full of delicious blueberries! Each slice is guaranteed a generous amount of blueberries.

DSC_0525.

DSC_0535.

I’ve never really cared much about flouring blueberries before mixing them into the batter. It prevents the blueberries from bleeding, but look the gorgeous patterns they make when they bleed! It’s so pretty! Food is art, I tell you.

DSC_0537.

DSC_0538.

DSC_0546.

DSC_0548.

Blueberry Bread

Recipe adapted from Something Swanky

Ingredients

  • 2 large eggs, room temperature
  • 1 cup granulated sugar
  • 1 cup whole milk
  • 3 tablespoons vegetable oil
  • 3 cups all-purpose flour
  • 1 teaspoon salt
  • 1 teaspoon vanilla extract
  • 4 teaspoons baking powder
  • 1 cup fresh blueberries

Method

  1. Preheat oven to 175ºC or 350ºF
  2. In a medium bowl, whisk together the flour, vanilla, salt, and baking powder
  3. In a large bowl, whisk together the eggs, sugar, milk, and oil
  4. Gently fold the dry ingredients into the wet until almost combined, with a few streaks of flour remaining
  5. Fold in the blueberries
  6. Transfer the mixture into a lined or greased 5×12 loaf pan and bake for 55-60 minutes, until a toothpick comes out clean. Allow to cool before slicing.

Fluffy Blueberry Muffins – SORTED (Cheat)

DSC_0695.

I know that I ramble about SORTED Food a lot, but I usually ramble about how they’ve changed my life by igniting the side of me that loved baking. Now, I’m gonna continue rambling, but this time, about how insanely amazing their recipes are. In particular – this recipe: “American Blueberry Muffins“.

DSC_0673.

DSC_0684.

DSC_0718.

Firstly, you’re probably wondering why I decided to rename the recipe, changing “American” to “fluffy”. Well, here’s why: they’re fluffy as hell.

I don’t think I need to say more to that.

In all seriousness though, these muffins are so damn fluffy and so damn delicious and I found my new favorite muffin recipe. Mind you, I make muffins all the time, but these muffins are so good. They rise mile-high and have a soft, delicate crumb with a textured top layer. Not to mention, they’re filled with juicy blueberries that break open so that you get blueberry in every bite.

DSC_0689.

DSC_0703.

DSC_0708.

I’ve never really used vanilla sugar much. I just use vanilla extract. This time, I decided to just go with the recipe and use vanilla sugar and it was so worth it. When my mom first tried it, she commented about how it was a vanilla blueberry muffin, and when I tried it out myself, I was in awe – the vanilla flavor was there. Not just a barely-noticeable sweet flavor, but vanilla.

But – on that note. I wouldn’t recommend going out and buying vanilla sugar, cause let’s be honest – that stuff is expensive. So what do you do? Why, you make your own, of course.

Last year when I went to Bali, I stocked up on vanilla pods because they’re really cheap there. I used the seeds and pod to make creme brulée, and then dried out the pod. I placed the pod into a jar and filled it with sugar and left it on my counter. Now, a few months later, the sugar has absorbed all that wonderful flavor of vanilla. Not only does it smell amazing, but it seriously heightens your baked goods! Vanilla sugar is my new favorite thing.

DSC_0710.

These muffins are little bundles of heaven, I tell you. Little bundles of heaven…

DSC_0722.

Fluffy Blueberry Muffins

Adapted from SORTED Food

Makes 10-12 muffins

Ingredients

  • 350g all-purpose flour
  • 3 teaspoons baking powder
  • 1 generous pinch of salt
  • 200g vanilla caster sugar
  • 2 eggs
  • 240ml buttermilk
  • 120ml sunflower oil
  • 1 teaspoon vanilla extract
  • 225g blueberries
  • 1 tablespoon demerara (raw) or brown sugar

Method

  1. Preheat oven to 220 degrees Celsius and prepare a muffin tray
  2. In a large bowl, whisk together the flour, baking powder, salt, and sugar
  3. In a medium bowl, whisk together the eggs, buttermilk, oil, and vanilla extract
  4. Add the wet mixture into the dry mixture and fold gently until just combined. Do not over mix. The batter should be slightly thick and sticky
  5. Fold in about 3/4 of the blueberries
  6. Divide the mixture between the muffin cases, filling them 3/4 of the way up. Top with the rest of the blueberries and sprinkle with demerara/brown sugar
  7. Place into oven and immediately turn heat down to 180 degrees Celsius. Bake for 25 minutes until golden and an inserted toothpick comes out clean

Black Sesame Chiffon Cake (Cheat)

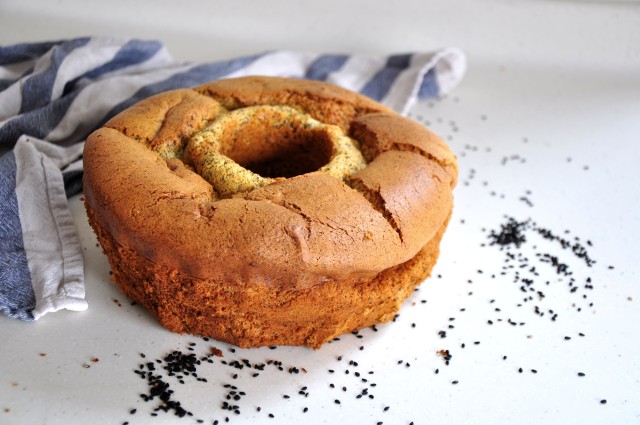
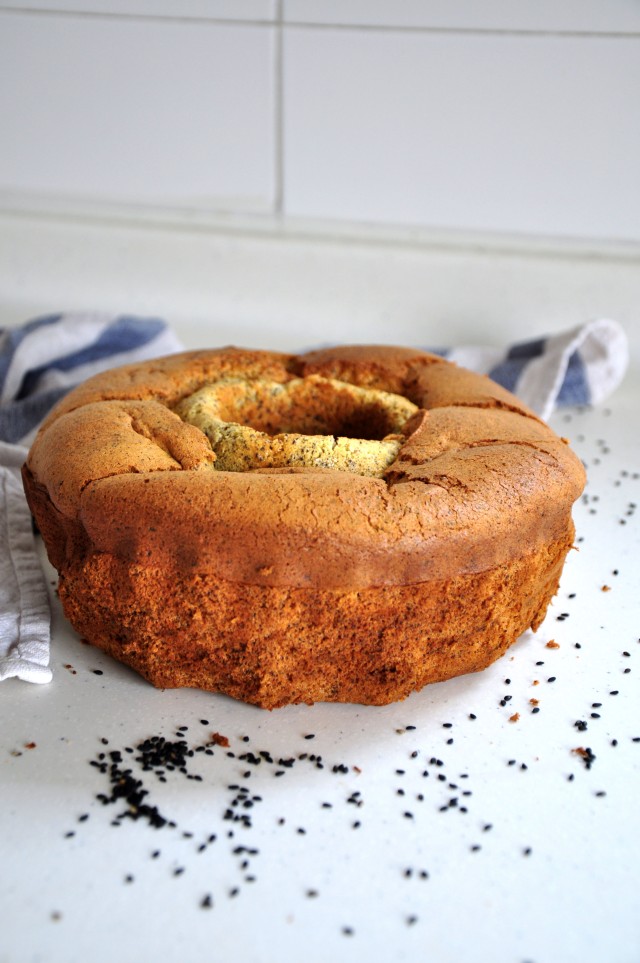
Think of the fluffiest cake in the world.

Just think of the fluffiest cake in the world. You’d better be thinking about this cake, cause this is as fluffy as they get.

DSC_0048.

DSC_0025.

DSC_0032.

DSC_0043.

I’ve only just posted a souffléd recipe, but here I am, doing it again. I’m obsessed. Soufflé foods are just so damn fluffy. So damn fluffy! It’s like eating a cloud, except there is that undeniable texture of cake and you get a hint of sweetness and black sesame. It all makes sense once you take a bite into a slice of this cake, trust me.

DSC_0046.

Because this cake is so fluffy, it never leaves me feeling uncomfortably full. I can eat half the cake before realizing that, oops, I ate half the cake. Then again, I’m not consumed by guilt the way I normally would, because to be honest, even though I labelled this as a “cheat” recipe, it’s pretty healthy.

You’re probably wondering why I didn’t just go the extra mile and turn this into a full-on clean recipe, and it’s because this recipe is already perfect, and what’s the point in perfecting perfection?

DSC_0035.

DSC_0050.

DSC_0053.

Also – this recipe is super easy to make. It comes together with just 6 main ingredients that you probably already have in your pantry.

DSC_0057.

DSC_0044.

Black Sesame Chiffon Cake

Adapted from Green Cilantro

Ingredients

  • 100g cake flour
  • 1/3 cup + 4 tbsp granulated sugar
  • 1 1/2 teaspoon baking powder
  • 1/2 teaspoon salt
  • 50g ground black sesame seed powder*
  • 4 large eggs, separated
  • 1/4 cup vegetable oil
  • 1/2 cup milk

*Alternatively, you could simply grind up black sesame seeds in a blender/food processor until it reaches a powdery consistency. That being said – don’t over-blend the seeds or else you’ll end up with black sesame paste!

Method

  1. Preheat oven to 160 degrees Celsius or 325 degrees Fahrenheit
  2. In a large bowl, sift together the cake flour, 1/3 cup of the sugar, baking powder and salt. Add the black sesame powder and whisk until well combined
  3. In a small bowl, beat the egg yolks until pale yellow and slowly add in the vegetable oil. Beat until the mixture is thick
  4. Add the egg yolk mixture and milk into the sesame seed mixture and mix until well combined
  5. Using a stand mixer or an electric mixer, beat the egg whites until foamy. With the mixer running, add in the remaining 4 tablespoons of sugar, 1 tablespoon at a time. Continue to beat until stiff peaks form. Set aside
  6. Gently fold the egg whites, 1/3 of the egg whites at a time, into the other batter using a spatula or a balloon whisk
  7. Transfer the mixture into a bundt pan or an angel food cake pan and bake for 45 minutes until a toothpick inserted comes out clean
  8. Allow to cool completely before serving

Braided Challah Bread

I know that I rarely post bread recipes, but trust me, bread is probably the one thing I make the most in this house. It might be tied in first with muffins, but like…bread.

DSC_0888.

If you don’t like bread, I’d like you to leave now. Actually, I’d like you to make this recipe, and if you still don’t like bread, then definitely leave, because you’re probably not human.

DSC_0886.

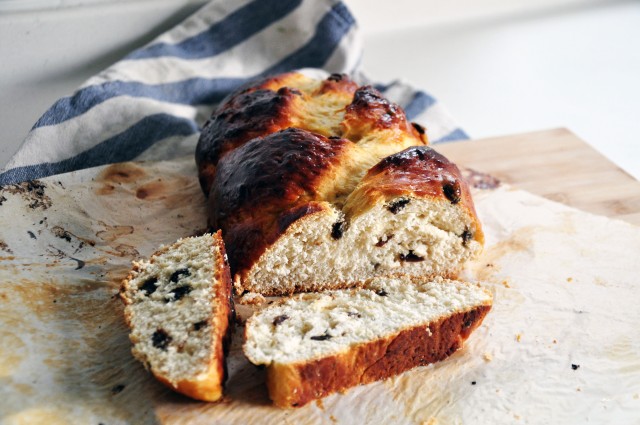
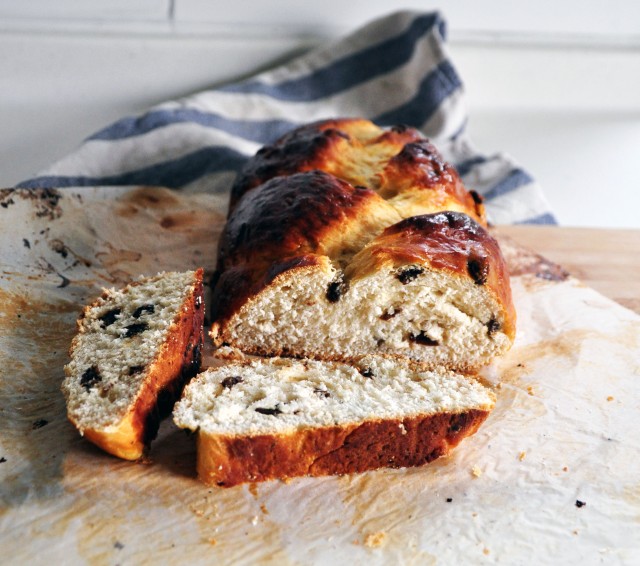
For those of you who don’t know, challah is a braided bread that’s usually eaten on Sabbath and Jewish holidays. The bread dough is quite a basic bread dough, but there’s an addition of eggs and sugar that give it a wonderful texture with a hint of sweetness. There are usually raisins kneaded into the dough and it’s usually topped with poppy seeds or sesame seeds, but those are both optional, as the bread tastes amazing with and without them!

DSC_0884.

In terms of braiding, I just braided a classic three-section braid, but if you’re fancy with this stuff, feel free to braid it in whichever way you’d like. If you don’t know how to do a classic braid, just go to google images and type in, “How to braid”, or just ask your sister.

DSC_0887.

Braided Challah Bread

Adapted from Smitten Kitchen

Makes 2 loaves

Ingredients

  • 4 teaspoons (11g) dry yeast
  • 1 tablespoon (13g) granulated sugar
  • 1 3/4 cup lukewarm water
  • 1/2 cup (118ml) vegetable oil
  • 4 large eggs + 1 large egg
  • 1/2 cup (100g) granulated sugar
  • 1 tablespoon (14g) salt
  • 8 to 8 1/2 cups (1000 to 1063g) all-purpose flour
  • 1/2 cup (70g) raisins, soaked in hot water and drained (optional)
  • Poppy seeds or sesame seeds, for sprinkling (optional)

Method

  1. In a large bowl, or in the bowl of a stand mixer, whisk together the yeast, 1 tablespoon sugar, and water and leave to dissolve for about 5 minutes
  2. Whisk in the oil, then beat in 4 eggs, one at a time, and add in the 1/2 cup of sugar and salt
  3. Gradually mix in the flour until a dough forms. Turn the dough onto a floured surface and knead until smooth, or knead it in a stand mixer using a dough hook
  4. Transfer the dough into a greased and floured bowl. Cover the bowl with a clean, damp tea towel and let it rise in a warm place for approximately 1 hour*, until doubled in size
  5. Punch the dough down and let rise again, covered with a tea towel, for another 30 minutes
  6. Knead in the raisins if using. Pull the dough apart into 6 balls, and roll each one into a strand about 12 inches (30cm) long and 1.5 inches (4cm) wide. Take three of the strands and pinch the tops together. Braid the dough, and pinch the ends together. Repeat this step with the other 3 strands**
  7. Beat the remaining egg and brush it on the loaves. *** Preheat oven to 190 degrees Celsius or 375 degrees Fahrenheit, and let the dough rise for another hour
  8. After rising, brush the dough with the remaining egg again and sprinkle with seeds, if using
  9. Bake for 30-40 minutes, until golden. Allow to cool before serving

*Any of the three risings can be done in the fridge for a few hours, for more deeply-developed flavor. Bring back to room temperature before continuing with the recipe

**Or you can braid the dough whichever way you wish!

***At this point, you can freeze the dough. I usually like to freeze one loaf and bake the other one. If freezing the dough, remove the dough from the freezer 5 hours before baking


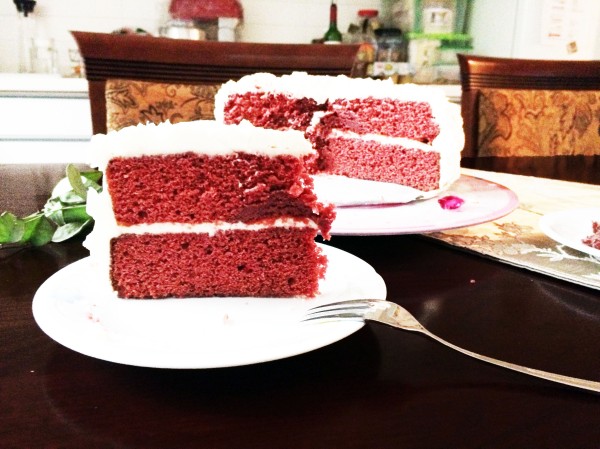
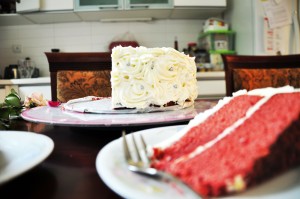
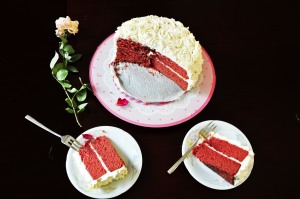
Red Velvet Rose Cake with Cream Cheese Frosting (Cheat)

SCHOOL IS OVER. I’m aiming to make the most of this summer, as next year’s summer will be 80% devoted to studying :(. Anyways, the recipe I’m sharing today is one that I made approximately 8 months ago…

DSC_0802.

2014-11-26 10.47.55.

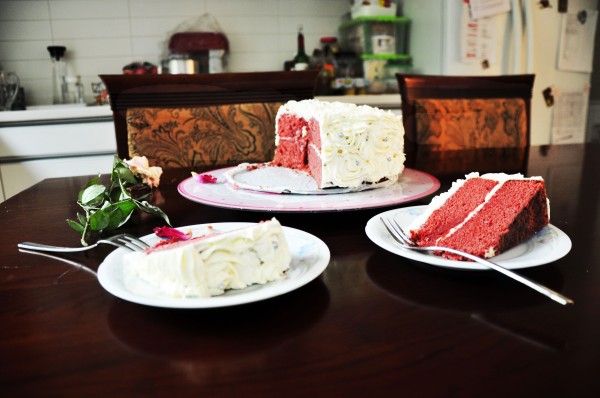
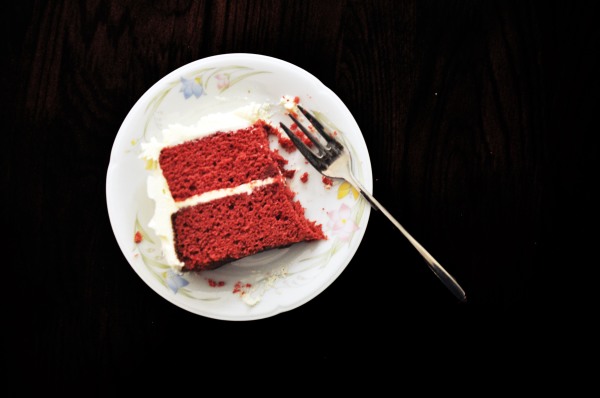
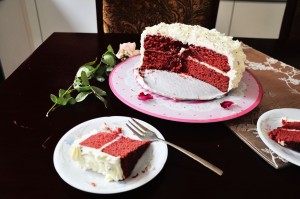
Yeah. I made it for my mom’s birthday, which is in November. Here I am, posting the recipe in June. You can probably tell that these photos were from a little while ago, considering the bad lighting and whatnot, but the cake tasted amazing and I didn’t know if I’d ever make the exact same cake again, so I figured that I may as well post this one.

IMG_9287.2014-11-29 08.39.48..

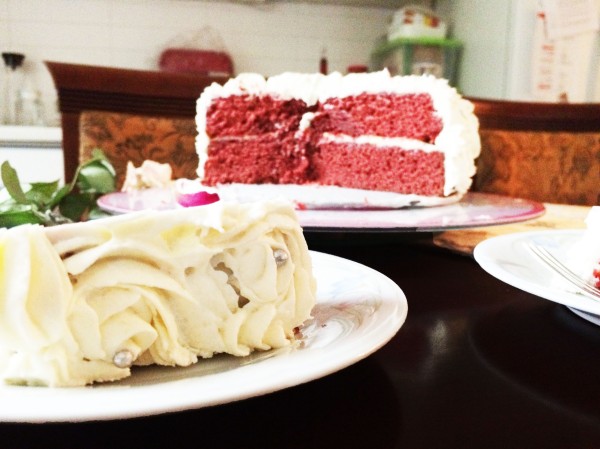
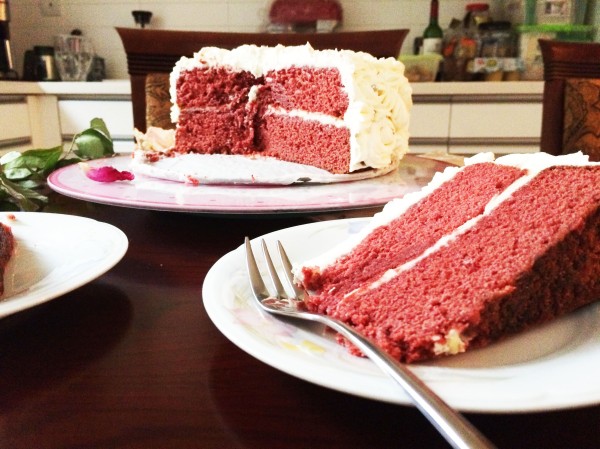
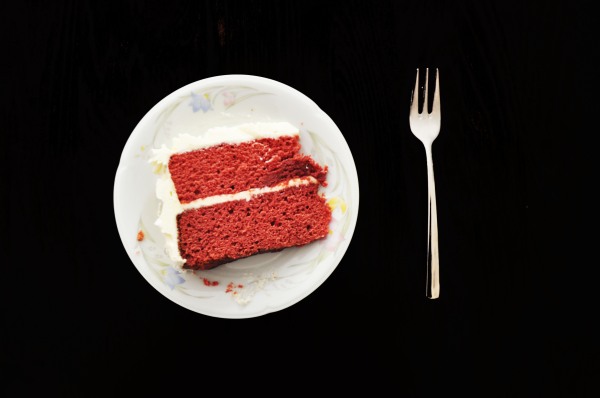
My mom absolutely adored this cake. It’s literally 100% perfectly suited to her taste, and the rest of my family’s taste for that matter. Why? Well…

2014-11-29 08.43.12.

We don’t like Chinese cakes. They’re really really fluffy, which is okay, I guess, but they don’t taste like anything. They’re just fluffy cakeness, and they’re filled with tons and tons of cream that, yet again, don’t really taste like anything. My grandparents got a cake once for one of their birthdays, and it ended up being like, 80% cream and 20% cake. Then the cakes are usually topped with more cream (but in different colors) and whatnot. Don’t get me wrong, I don’t hate Chinese bakery cakes ALL the time. I’d still eat them, but c’mon…

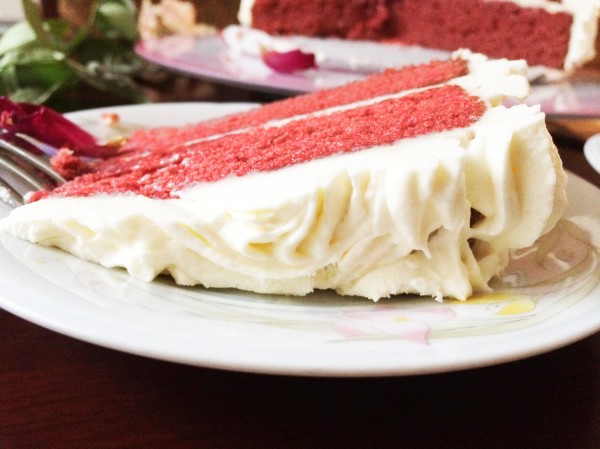
We don’t like American buttercream (well, I’m okay with it). They think that it’s way to sweet, and the cakes are usually quite high in sugar too. I looked at dozens of cream cheese frostings prior to this cake, and the cream cheese to sugar ratio varied drastically. Some frostings required 7 cups of powdered sugar, and some required 2, with the same amount of cream cheese! I went with one that’s less sweet, which doesn’t make you want to puke after 2 slices of cake, and lets the distinct flavor of the cream cheese remain. There’s 16oz of cream cheese to 2 cups of powdered sugar, which is a pretty decent ratio, in my opinion, with a little bit of butter. Feel free to add more sugar to taste.

IMG_9286..

IMG_9284.

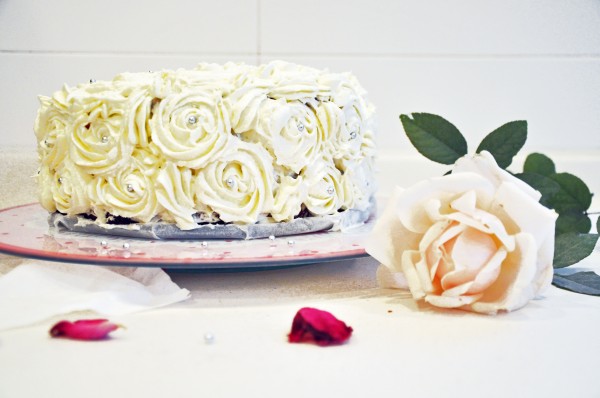
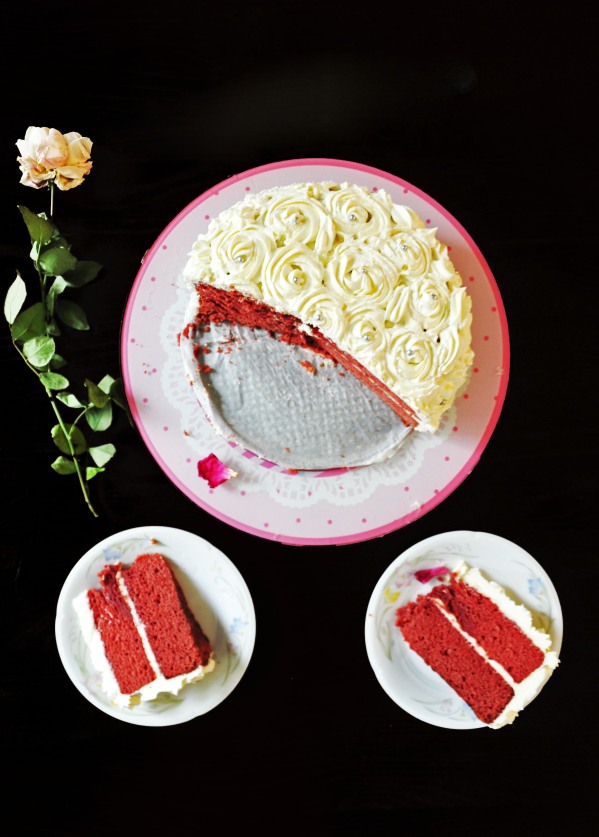
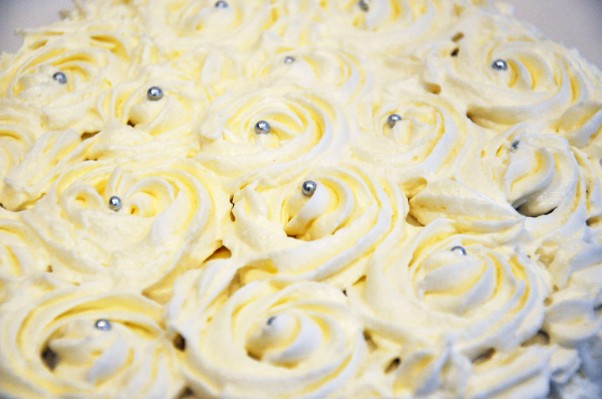
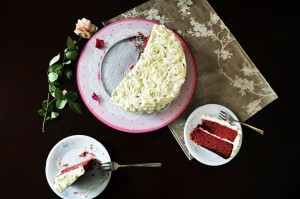
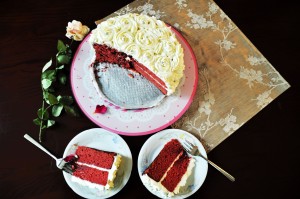
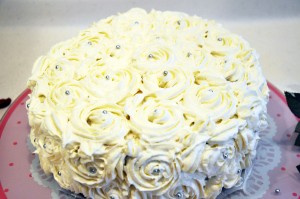
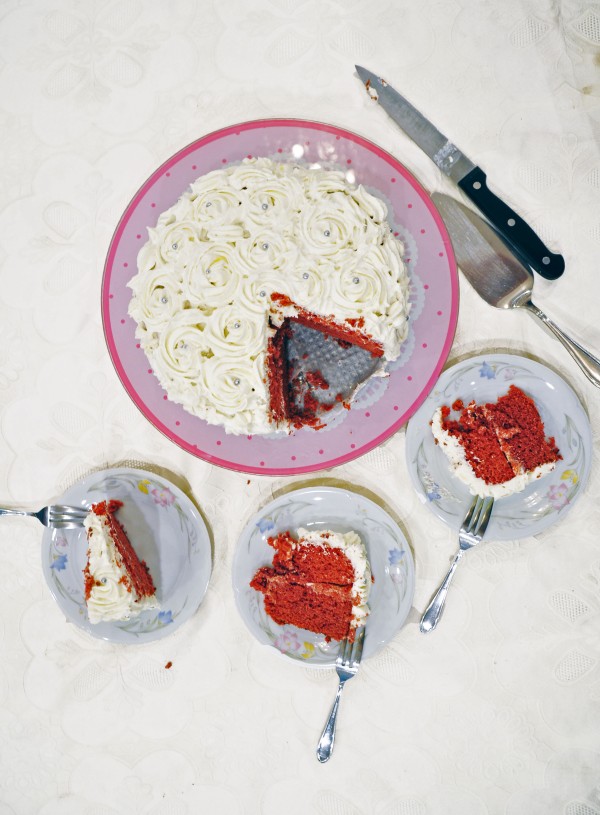
If you’re wondering about piping the roses, it’s seriously so much easier than I thought. It took me about 5 minutes to pipe the roses. I’m not kidding. All you need is a 1M piping tip (I got one online for about a Euro and it’s my favorite piping tip now. I’ve used it for my funfetti cupcakes too). If you want, just watch this short video to get a better idea on how to make one.

2014-11-26 10.49.15.

IMG_9283. IMG_9282. 2014-11-29 08.49.00.2014-11-29 08.50.21. 2014-11-29 08.51.08. 2014-11-29 08.51.57. 2014-11-29 08.53.14. 2014-11-29 08.47.00. 2014-11-29 08.46.52.2014-11-29 08.43.06.  2014-11-26 10.48.37. 2014-11-26 10.49.10.  2014-11-29 08.41.59. 2014-11-29 08.42.11. 2014-11-27 15.12.32.

2014-11-29 08.39.48.

Red Velvet Rose Cake with Cream Cheese Frosting

Makes a 2-layer 8-inch cake

Ingredients

Cake:

  • 1 cup unsalted butter, softened
  • 2 cups granulated sugar
  • 2 tbsp cocoa powder
  • 1 tbsp red food coloring
  • 2 1/2 cups cake flour (or all-purpose)
  • 1 tsp baking soda
  • 1 tsp baking powder
  • 1 tsp salt
  • 1 tsp vanilla extract
  • 1 tsp white vinegar
  • 1/4 cup oil
  • 3 eggs
  • 1 1/4 cup buttermilk

Frosting:

  • 16oz cream cheese
  • 1/2 cup butter, softened
  • 2 tsp vanilla extract
  • 2 cups icing sugar, sifted (if you want a sweeter frosting, you may use up to 4 cups powdered sugar)
  • Little silver candy beads (optional)

Method:

  1. Preheat your oven to 180 degrees Celsius, or 375 degrees Fahrenheit
  2. For the cake, using a stand mixer or an electric hand mixer, cream the butter and sugar until light and fluffy (approx. 5 min)
  3. Mix in the cocoa powder, food coloring, flour, baking soda, baking powder ,salt, vanilla, vinegar, and oil until just combined. Do not over-mix
  4. Beat in the eggs one at a time
  5. Mix in the buttermilk
  6. Transfer the mixture into two greased 8 (or 9) inch cake pans
  7. Bake in oven for 35-40 minutes, until a toothpick inserted into the center comes out clean
  8. Allow the cake to cool in the pans for 10 minutes, before cooling completely on a wire rack
  9. For the frosting, using a stand mixer or an electric hand mixer, beat the cream cheese until light and fluffy
  10. Beat in the butter and vanilla extract until light and fluffy
  11. Gradually beat in the icing sugar until smooth. At this point, you could add a little bit of milk (1 tsp at a time) or a little more powdered sugar (1 tbsp at a time) until you reach a desired consistency
  12. To assemble the cake, make sure that the cakes are completely cooled before frosting. I wrapped each cake in 3 layers of plastic wrap and froze them prior to trimming/frosting. If your cakes have domed, then trim the top of the cake off so that the tops are flat
  13. Spread about 1/4-1/2 cup of frosting onto one of the layers, and place the second layer on top. Spread about 1/2 cup frosting to create a thin layer over the layered cake (this is called crumb coating. If you’re in a hurry, you could skip this step, but it’s recommended, as it will ensure that no crumbs are visible after frosting)
  14. Freeze the crumb-coated cake for at least an hour (optional, but recommended). Place a 1M piping tip into a piping bag and fill with cream cheese frosting. Pipe roses around the side of the crumb-coated cake, and then pipe roses on the top of the cake. Add swirls or kisses of frosting in the places that aren’t covered by the roses. Place a little silver candy bead in the middle of each rose if you want. Enjoy x